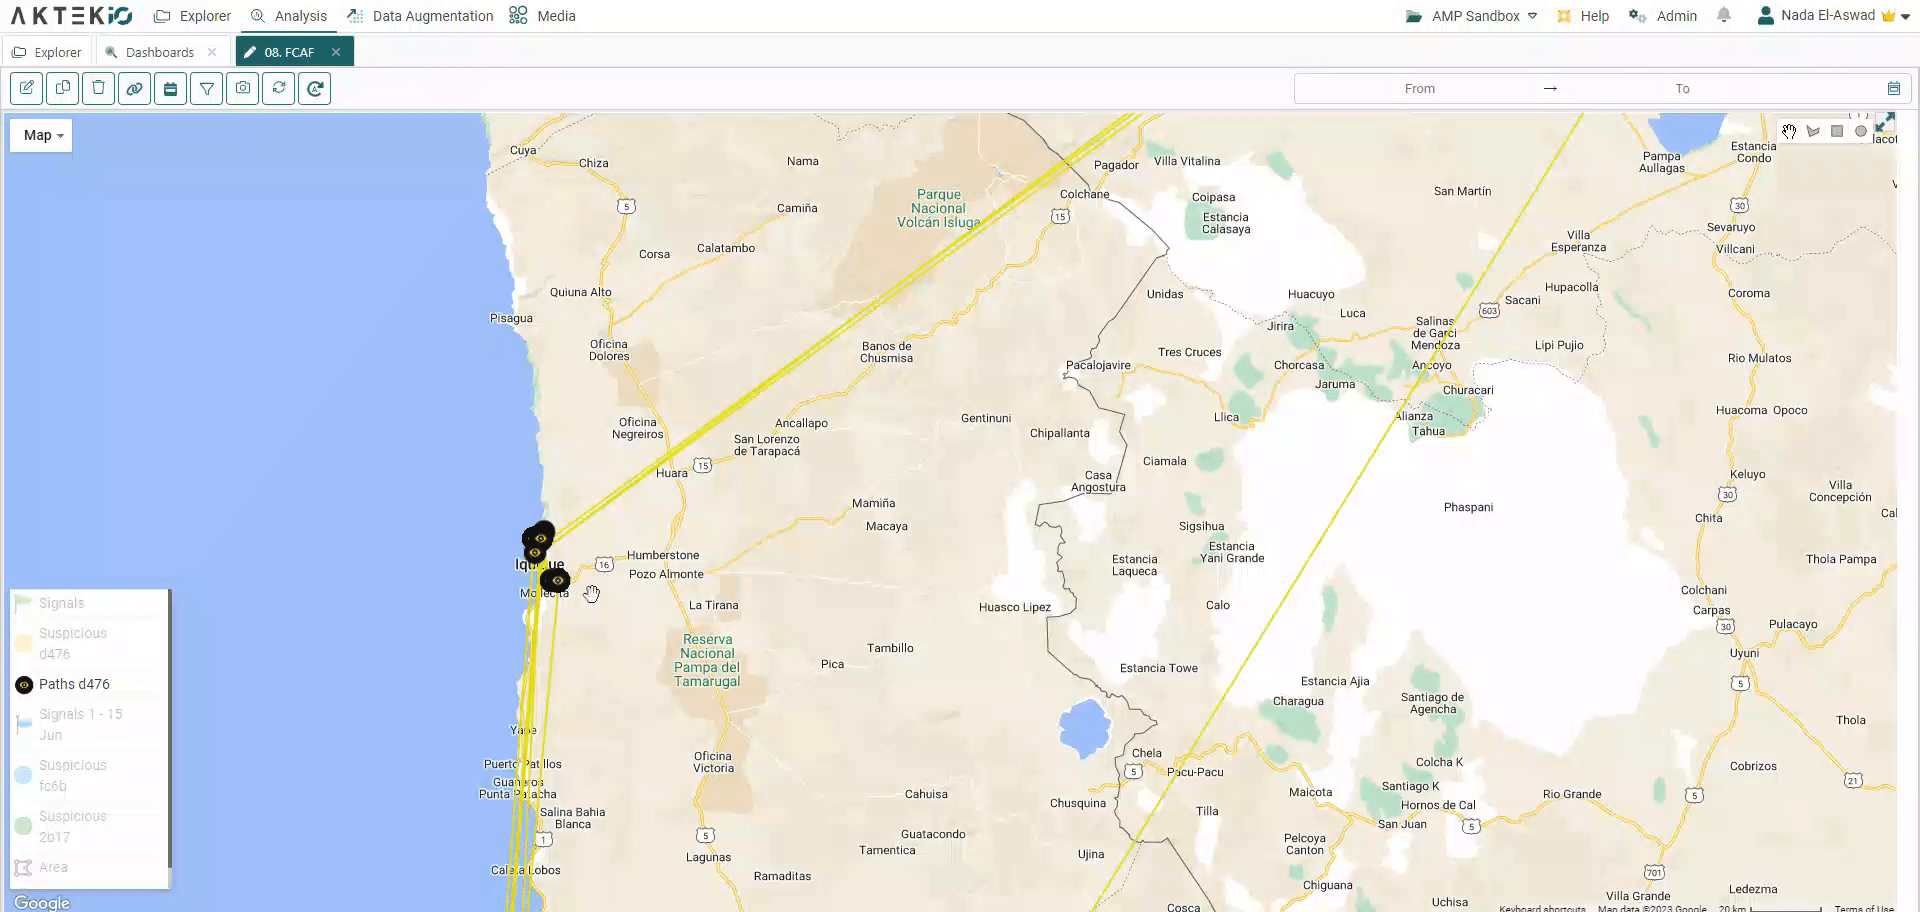
See the movement of a certain element/object on the map and focus on the path of one object anytime
Table of contents
Add a Path Layer
Go to Analysis tab > Dashbards > Create/Edit a Dashboard > Add/Edit a GeoMap Chart component
💡 To add a map, drag and drop the GeoMap Chart option from the left-hand side of the screen onto the canvas.
In order to configure the path layer, follow the steps below:
-
Give a name to your layer.
-
Select the data structure where you have your moving objects.
-
Define which field has GPS information.
-
If you have many moving objects (i.e. patrols); choose Group path waypoints by and then choose the field patrol. This will create one unique path for every moving object (i.e for every patrol).
-
Define which field has day/time information.
-
Choose what do you want to see in the info field.
- Choose the marker icon and the arrow color.
- Once you are satisfied with your configuration, save it, save the dashboard, and enable this layer from the legend to see the results.
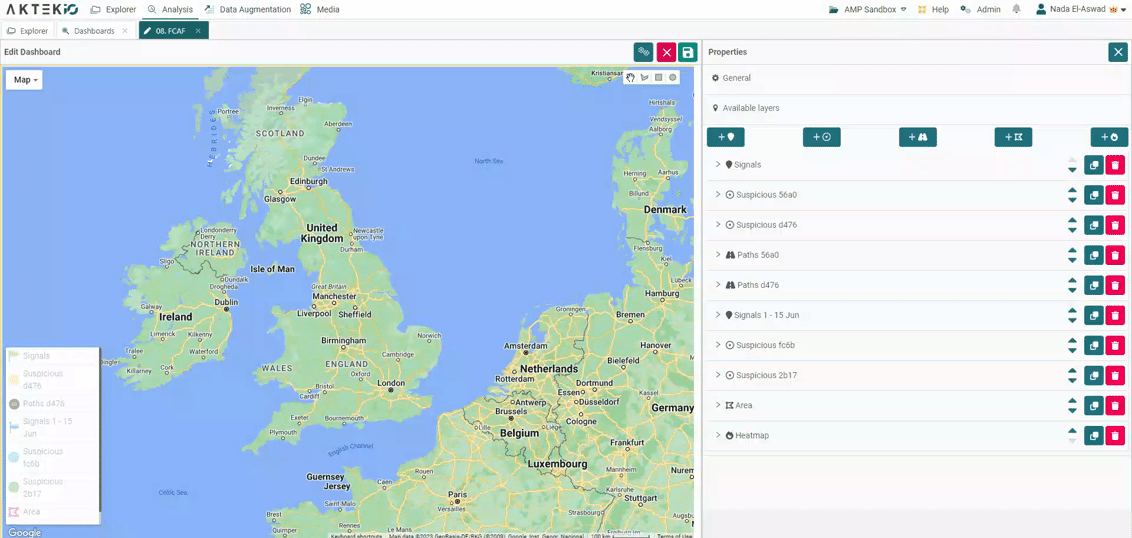
✅ Steps 4 and 6 are optional.
Things you can do with this layer:
- If Timeline is enabled on your map (under general settings): you can play the timeline to see how the object is moving. You can also click on a time period to see the path during this period
- If you group path waypoints (step 4): right-click on the desired object or path and click on Focus Path. This will fade out other paths and will focus on the path of this object only.
- After you choose Focus Path, in order to reset the view: right-click on the path again and click on Reset paths.
- If you have iQ Areas enabled in your license, and you wish to create Device Query for this device: right-click on the device icon and click on Query Device. This will open automatically the Device Query with the device ID pre-filled.