After creating your data structure, you will need to add your data in the reports and view them, so let's help you
Table of contents
Add and View Data
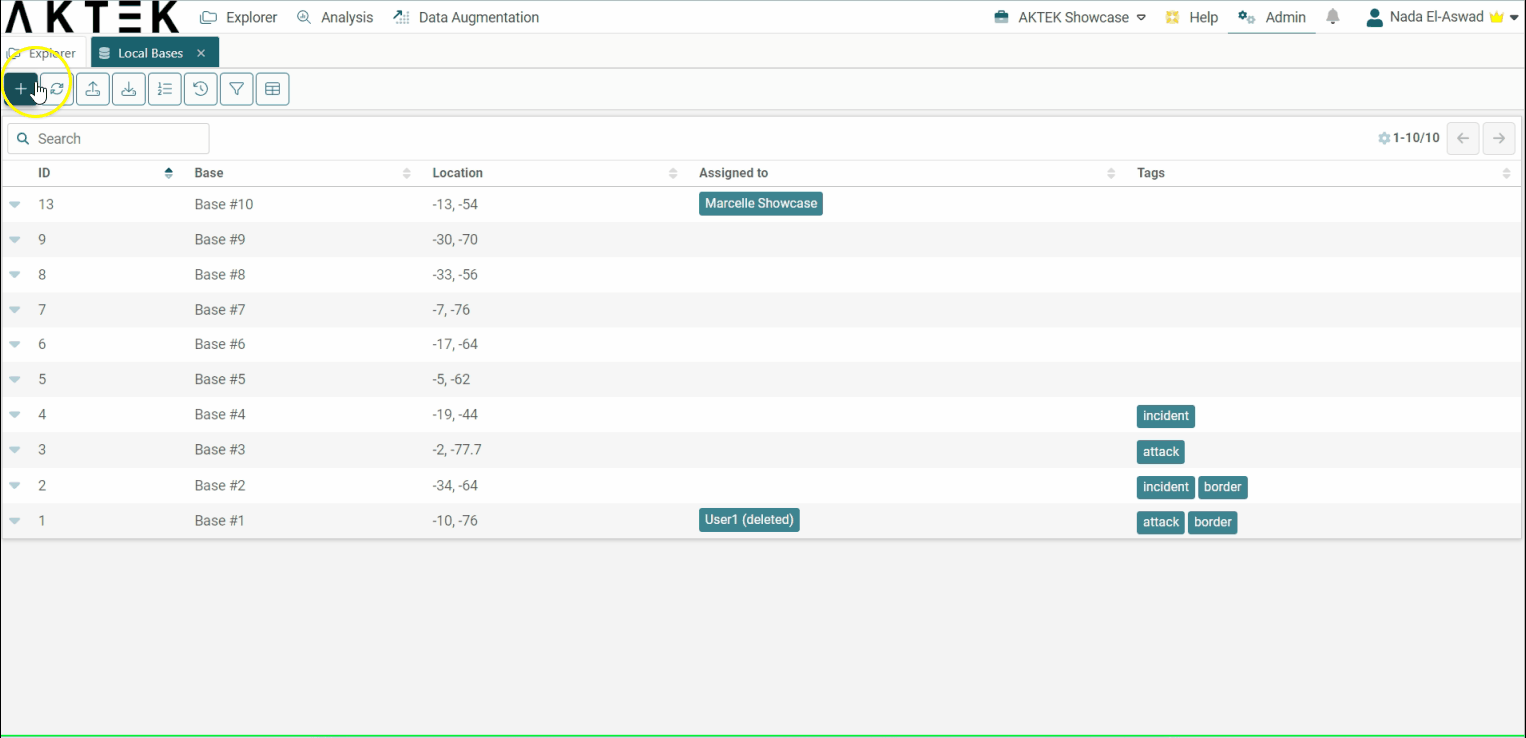
Login to AKTEK iO > Explorer > Open a Report
- To enter data to a report, click on the + button in the top left corner;
- Fill in the fields that were chosen for that specific report. Keep in mind, all reports can have different structures. Once your entry is ready, you can click Save & Close or Save & Fill Another, if you wish to add another entry.
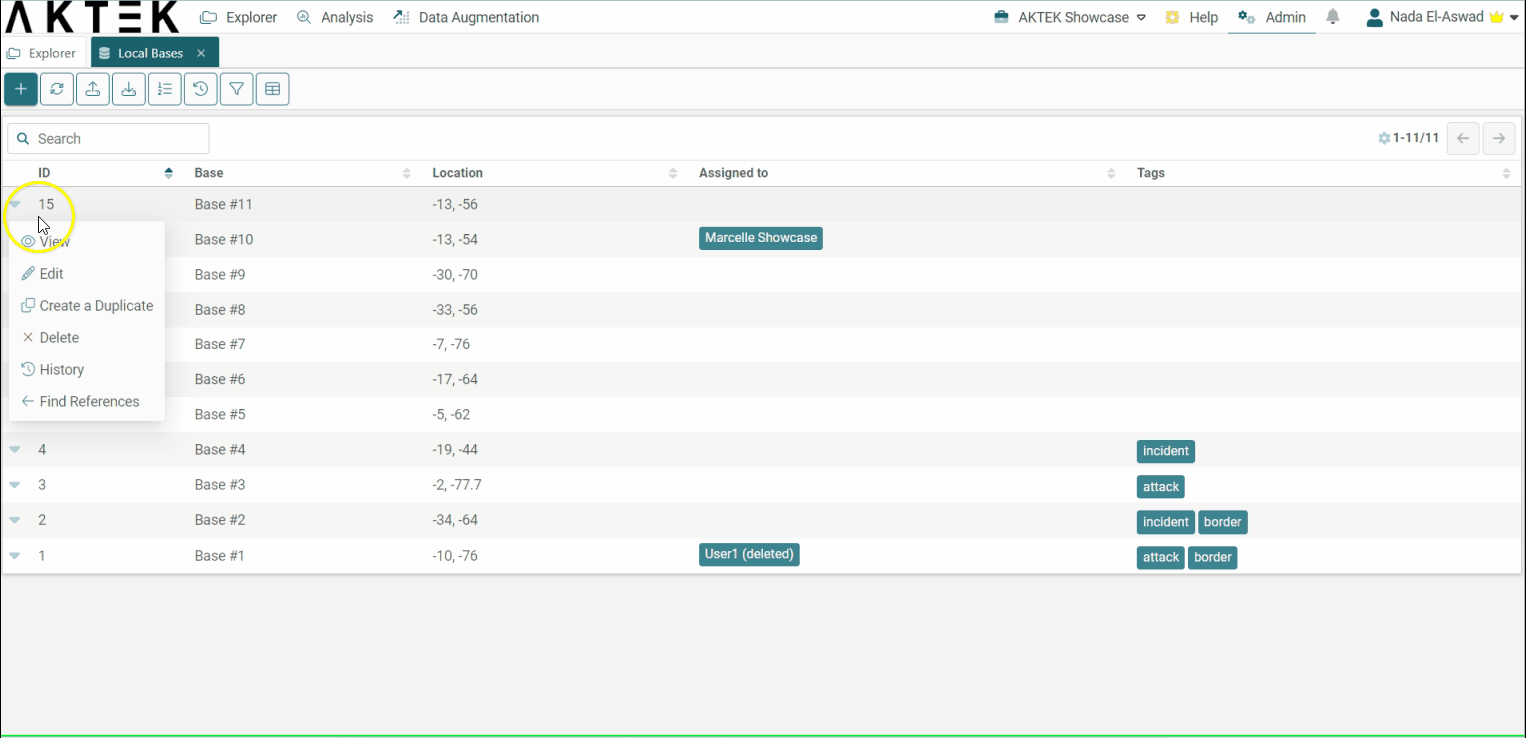
- To act on an entry, use the menu on the far left of that row to open various options, such as view, edit, duplicate, delete, and history, which are defined according to your permissions in the company;
- Viewing a report entry will show a view-only form that cannot be edited. You can use your Chrome browser PRINT functionality to print to PDF (CTRL+P on Windows, Command+P on Mac);
- Editing a report entry will open the same form, but with the ability to make changes to data fields. Remember to hit the SAVE button on the top right to save any changes;
- Selecting History from an entry (if Audit Records is enabled under the corresponding data structure) will open a table with every change done, the date, version, the action performed, and the user who performed it. You can also click on the action pillbox (as shown) to see the exact change;
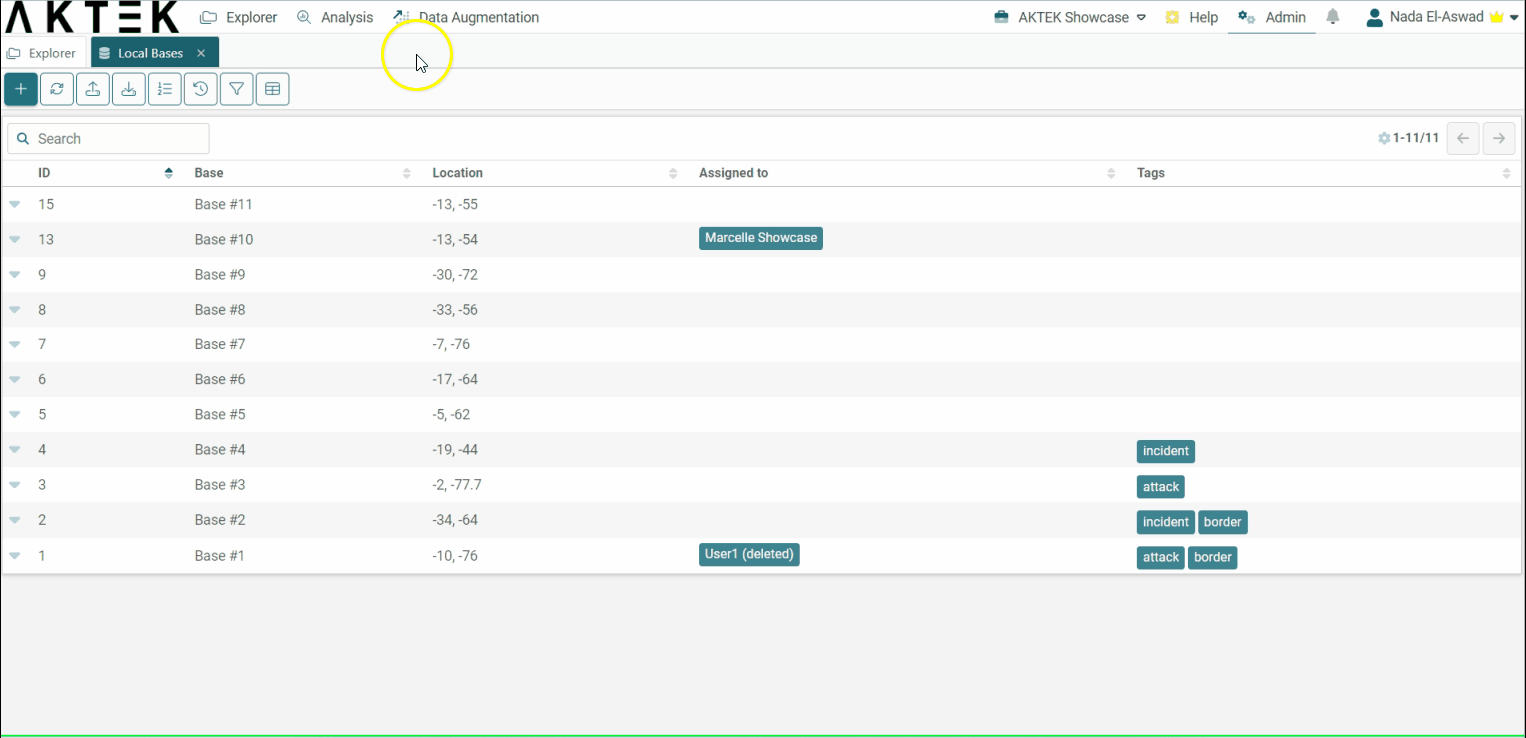
- Selecting Complete History from the report will open a table with information about every entry on the report, including the date, the action performed, and the user who performed the action;
-
Selecting Find References from the report will show you where a certain record is being referenced in other reports;
- Duplicating an entry will open a copy of the record in edit mode. It won't be saved until you hit Save;
- Deleting an entry will remove it from the database;
- Finally, you can bulk delete several entries from one report by enabling the option Allow Bulk Selection and then clicking the box next to the ID title. Deleting one or more entries will remove them from the database.
💡 You can use the search bar to also search for a specific record ID.
💡 When you turn off Simplified Page Nav, you can click on a specific page number to go directly to this page. When you have a lot of pages to browse, you can click the 3 dots and enter a specific page number.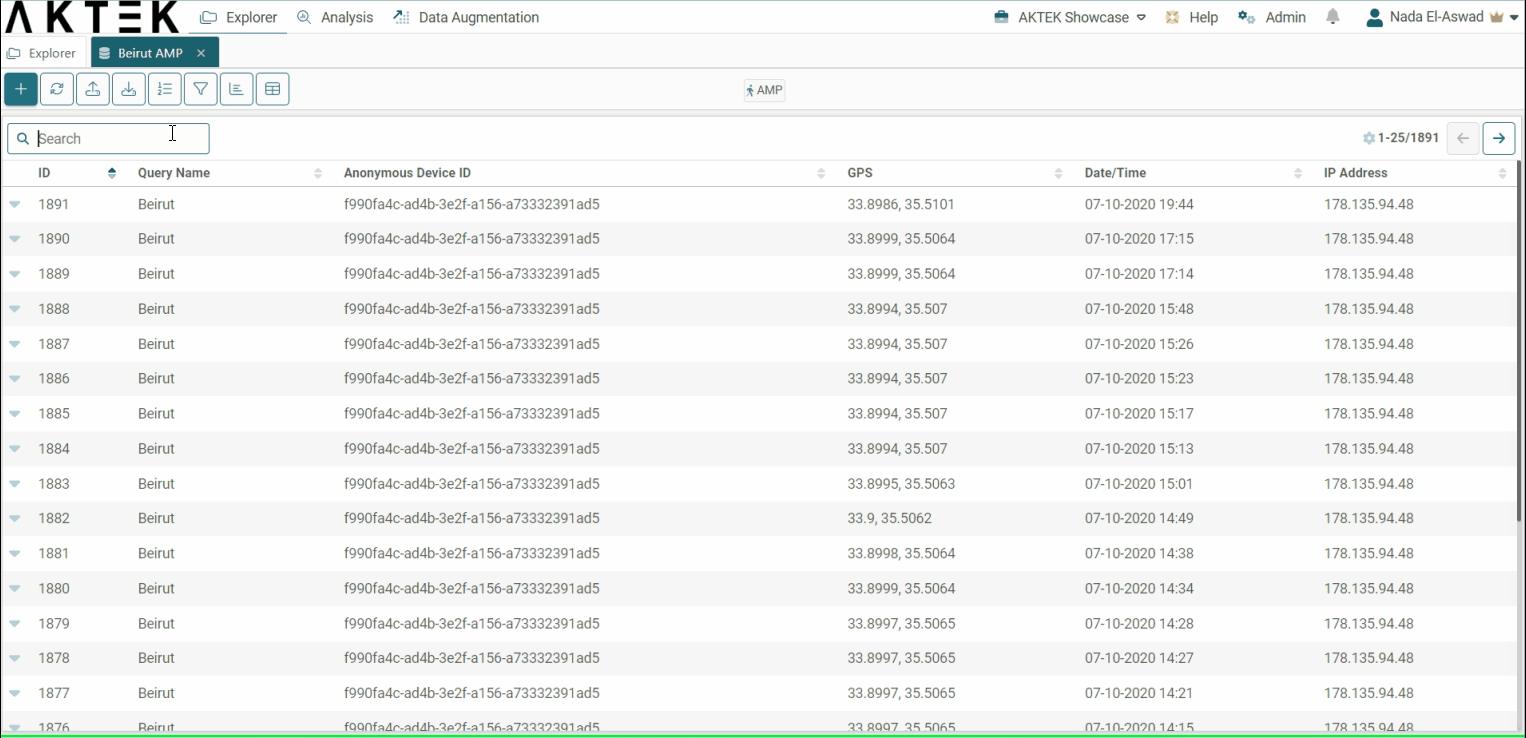
💡 For the fixed options field, you can set/change the value or clear the value from the table view directly. For this, you need to make sure to enable the toggle Allow the user to edit this field directly from the table view in the data structure.
💡 When you have reference fields in the table view, you can double-click on the field in order to open the target record related to this reference.
💡 If you have a URL in your data, click it to open the URL in a new tab of your browser.
💡 If your data contains a generic file, you can download it directly from the table or from the record view.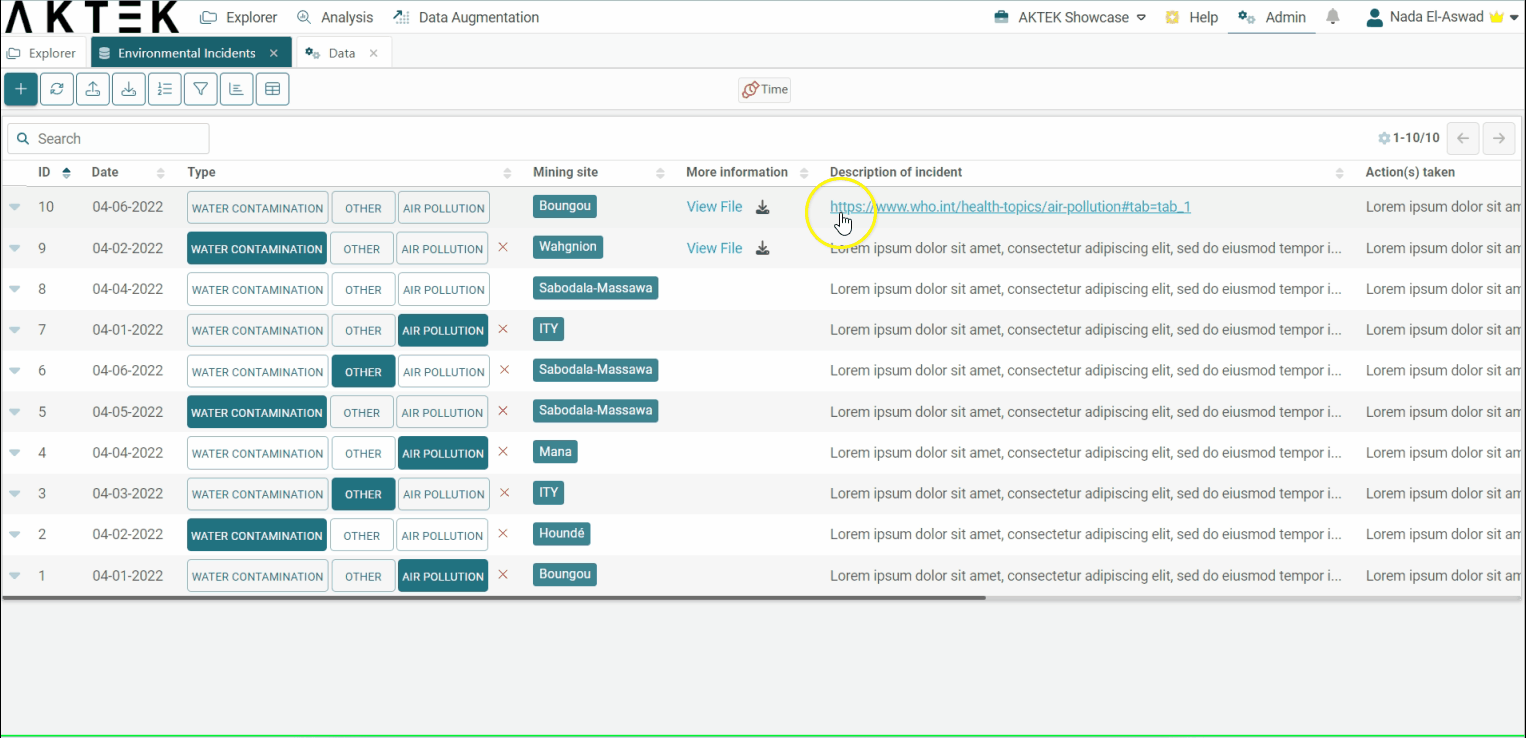
Record Tags
- Make sure that Allow Tagging of records is enabled under the settings of the data structure;
- When adding or editing a record, tags will show as the first field to be filled. Type a new Tag and press Enter, or select one or more existing tags;
- In the table view, the tags will appear under the last column;
- You can use these tags in table search and smart filters. You can also set Tag-based access control. Check the details here.