Network Visualization, also known as Network Graph, visualizes complex relationships between elements
Network Visualization (also called Network Graph) is often used to visualize complex relationships between large numbers of elements, by displaying undirected and directed graph structures.
Table of contents
- Create a Network
- Node Settings
- Edge (Links) settings
- Add multiple reports to your Network
- Children Networks
💡 Check the meaning of Node, and Edge/Link here.
💡 Additionally, check here to understand what can be a node.
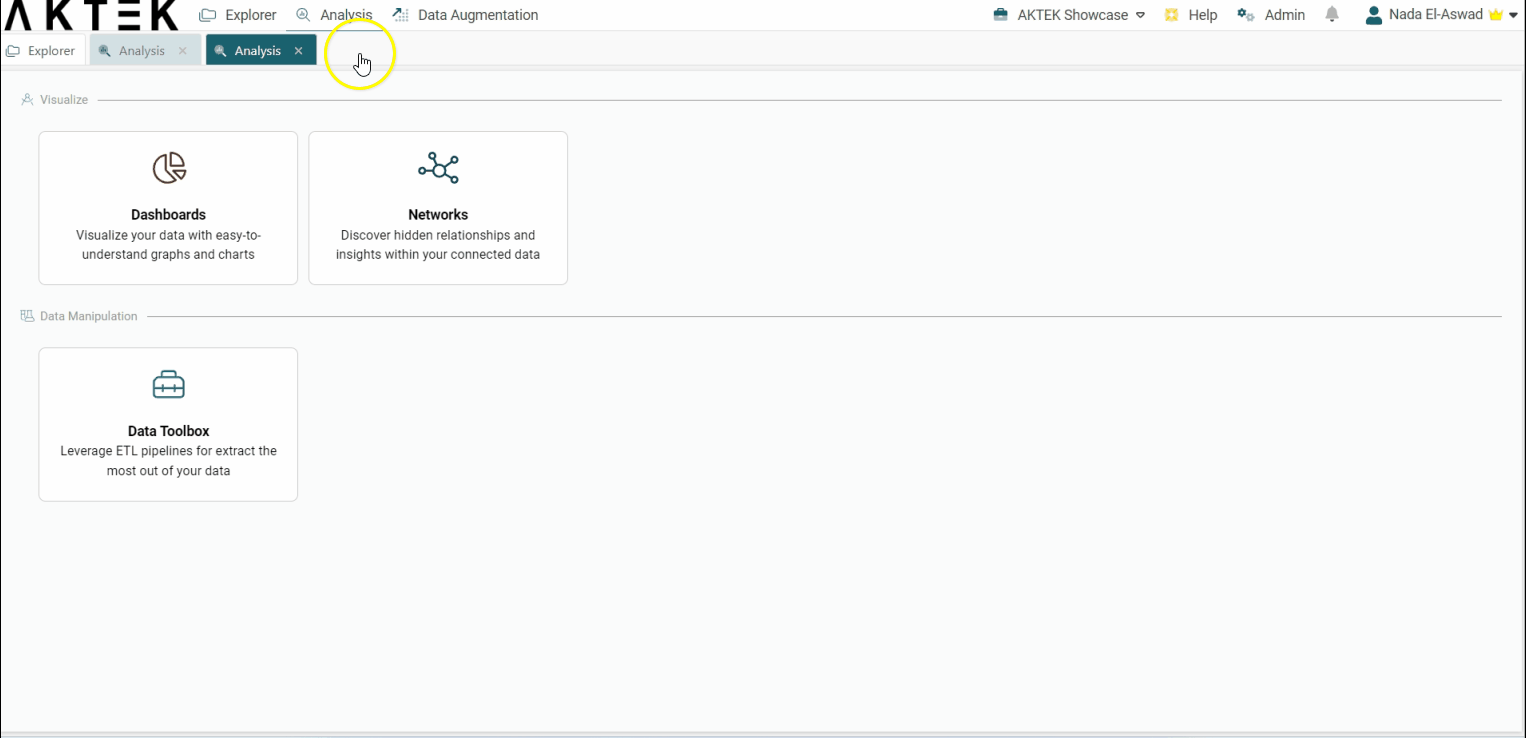
Create a Network
Go to Analysis > Networks
-
Click on the + button to start building a new Network (or select a created Network), then click on Confirm;
-
Drag and drop at least one report onto the canvas to start configuring your settings in order to create your network.
⚠️ Your report will only allow you to draw edges/links if it has at least one Reference field with the Mark this reference for use in network analysis option turned ON.
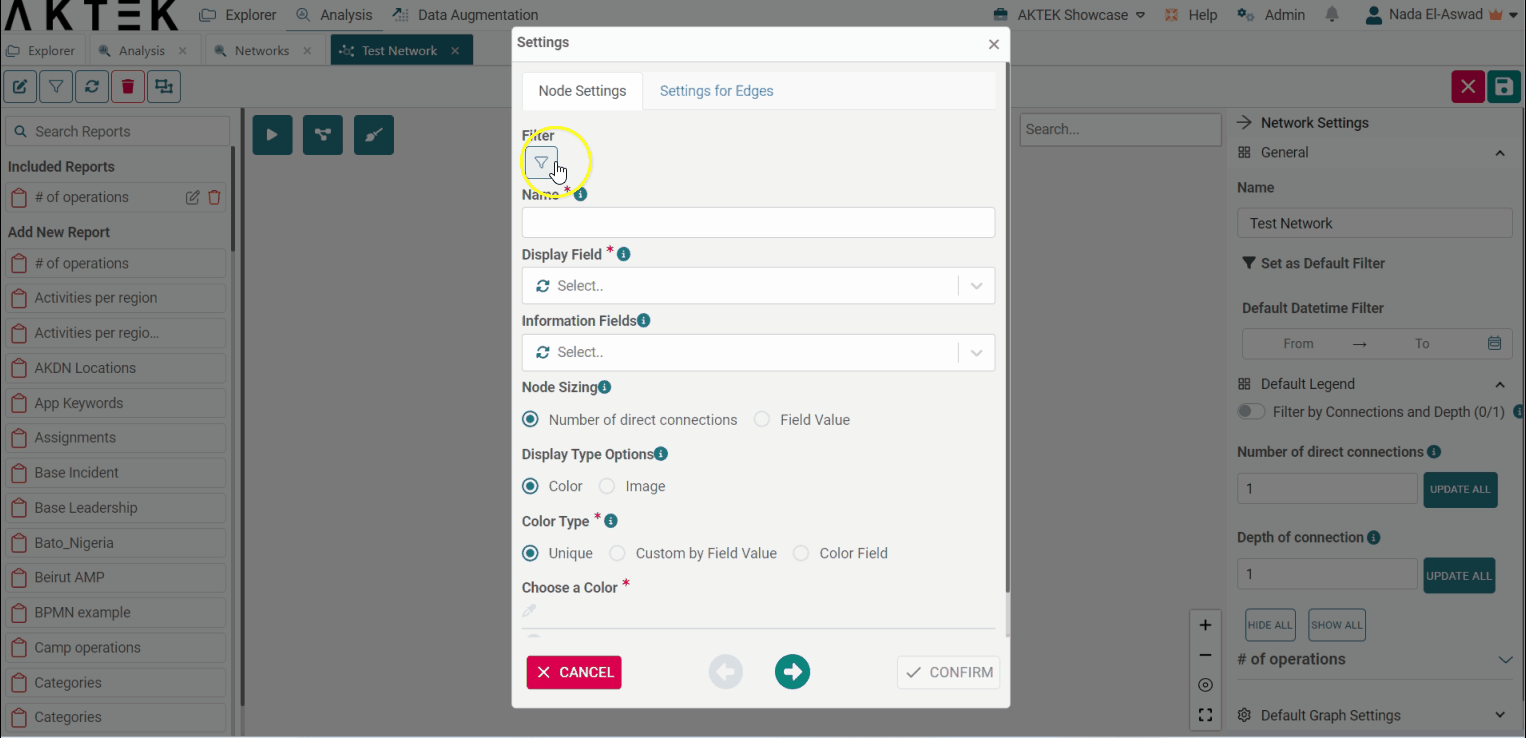
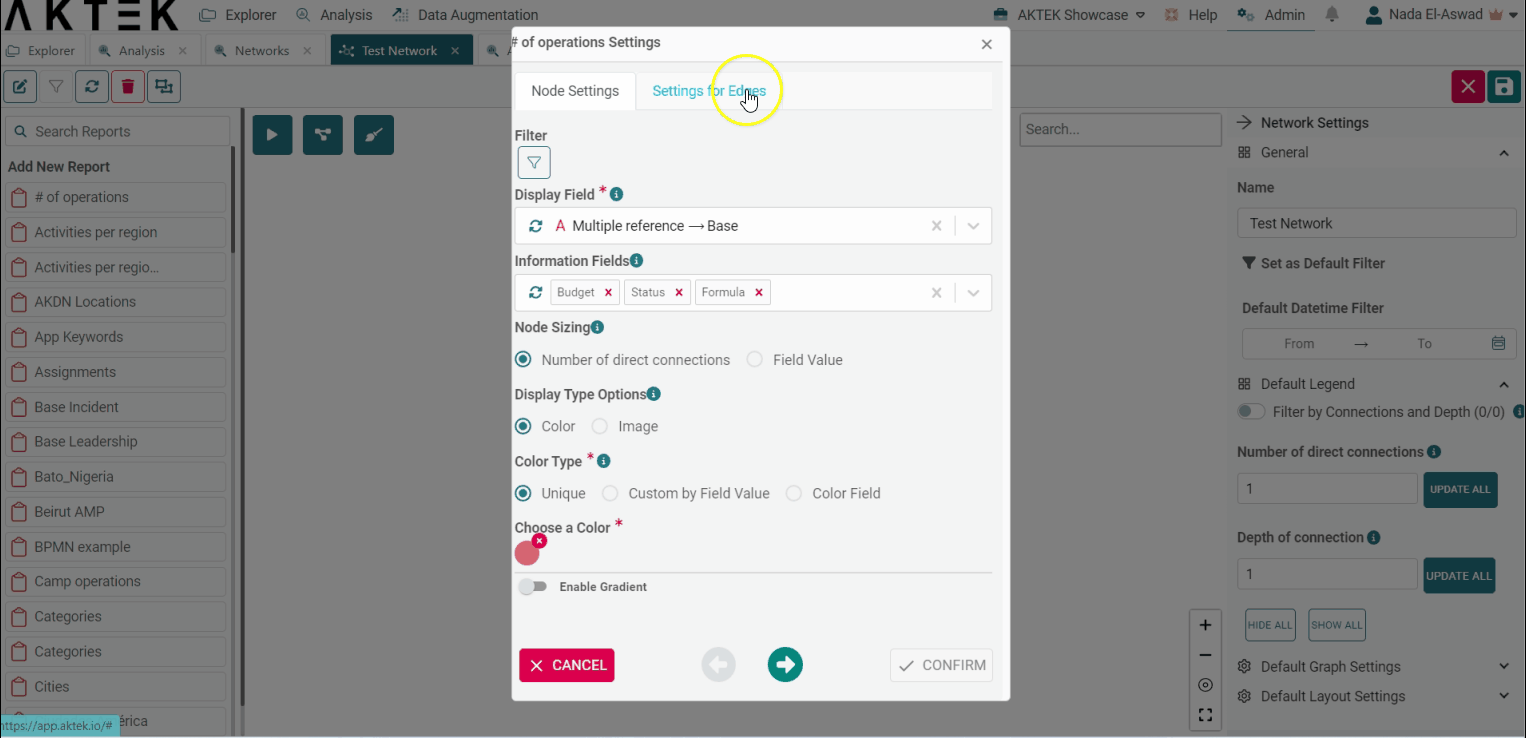
Node Settings
-
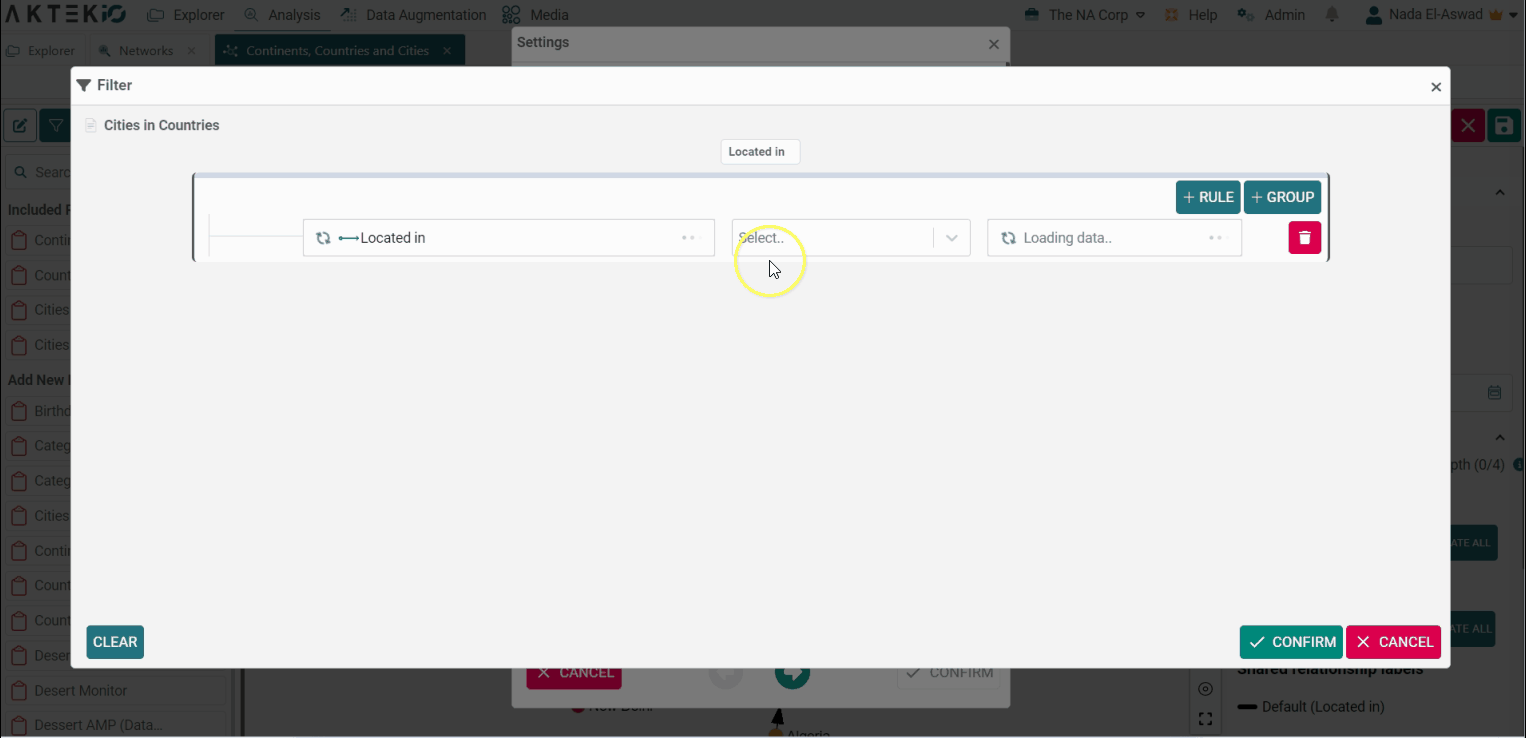
Filter: it applies smart filter rules to your data if you don't need the complete data set;
-
Name: it will appear only when you add the report twice. The given name will appear on the legend and will help you differentiate between the layers added for the same report. If the report is added for the first time only, this settings option won't be visible;
-
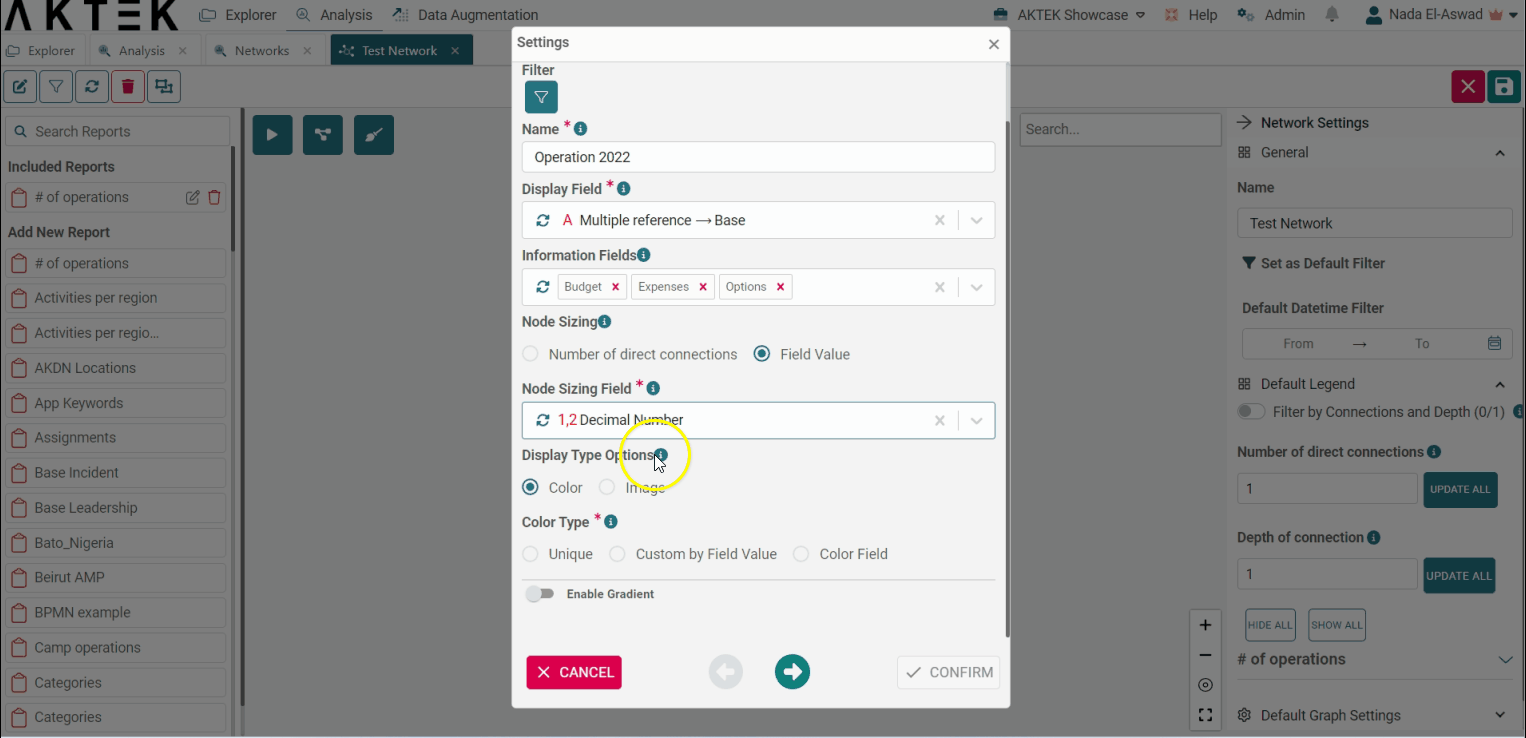
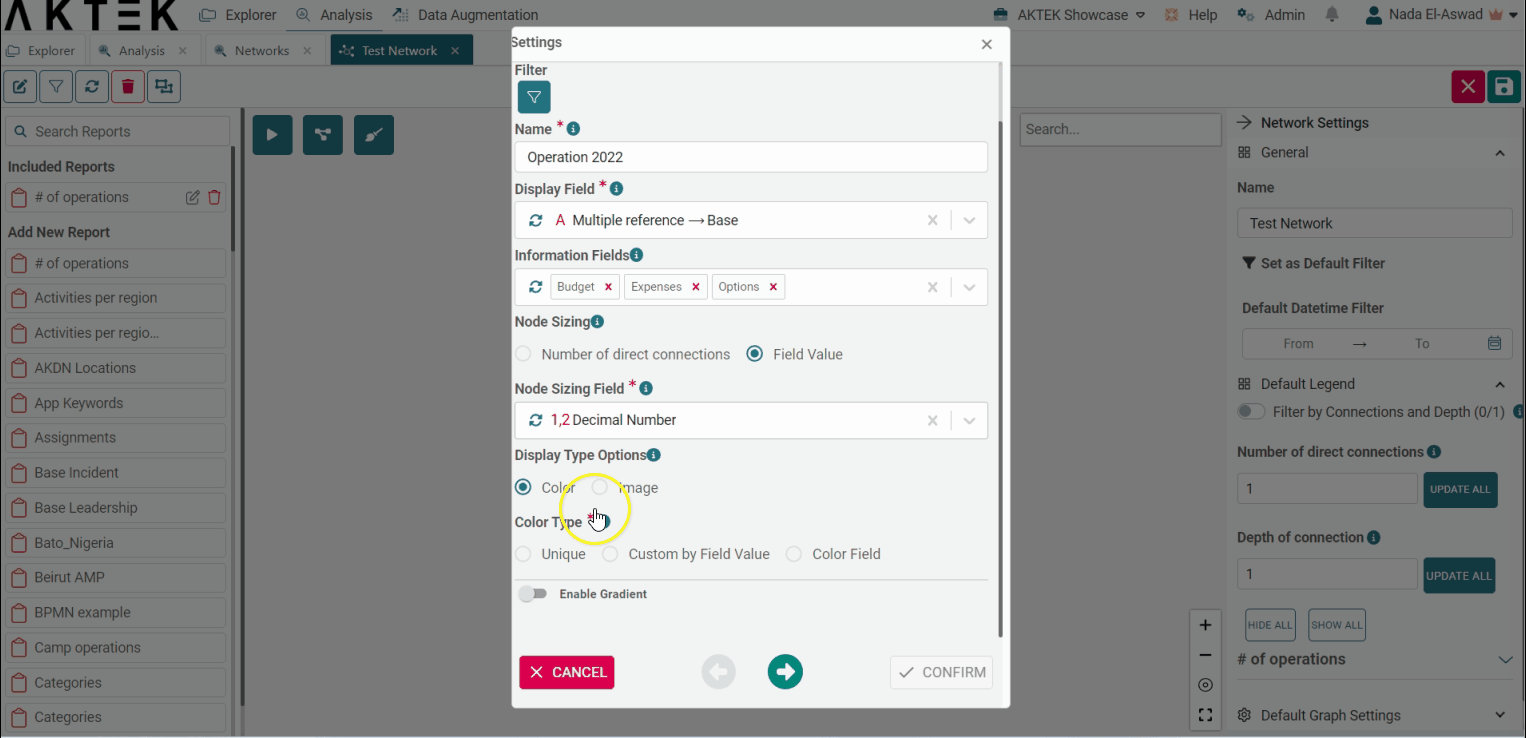
Display Field: it refers to the field you select from which network will select the unique values as your node labels;
-
Information fields: These are the fields that will be displayed when you double-click a node. If you leave it empty, the full record will be displayed by default on the node double-click;
-
Node Sizing: it can either be based on the # of connections from your node or a field value that must be a Numerical field type. The min and max values will change as data changes.
Select the option you would like to use to determine the size of your nodes by clicking on the option you prefer and selecting the field you would like to use, if applicable.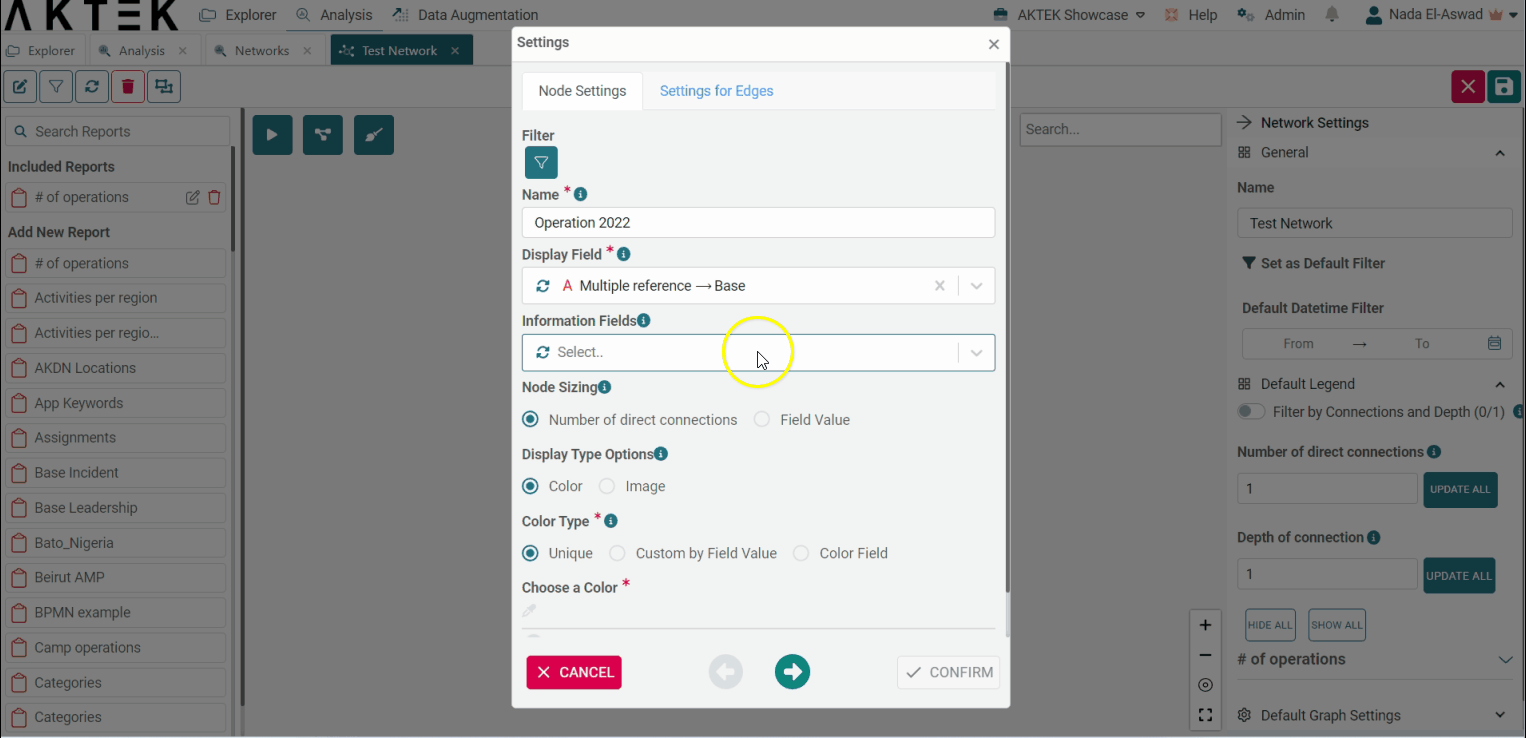
-
Display Type Options: it will define if your nodes will be shown as an image or a bubble with unique or different colors:
-
If you select the option Image, you can choose between having a unique picture or several pictures for different categories on the section below Image Type. These images can be icons or regular pictures;
-
If you select the option Color, you can choose between adding a unique color or adding several colors to your nodes.
-
- Click on Confirm to see your initial Node Settings. You can also go directly to Edge (Links) Settings to toggle on your created network links.
💡 Whether you select Image or Color, according to the instructions above, you'll have some options:
-
Field Value: it allows you to select one field whose unique values will become different color or image categories. Each node with the same value will have the same color or image:
-
Select colors or images for each value, and add a default color or image for any additional value that could be different from the ones you have defined. This can be easily changed later by editing your settings;
-
The color or image field gives you the option to pick the color/image field of the report you are working with or the color/image field of a referenced report.
-
-
When you choose the option Color Field, you can either choose to have a default color in your legend in order to toggle nodes ON and OFF or use a field’s unique values as a legend label, meaning each unique value will appear with its respective color in the legend;
-
Enable Gradient: it will allow you to have a secondary view of your node colors, on-demand, based on a different color code tied to a quantitative variable (instead of simply showing node categories). Toggle it ON in order to add a min and max color based on a quantitative value.

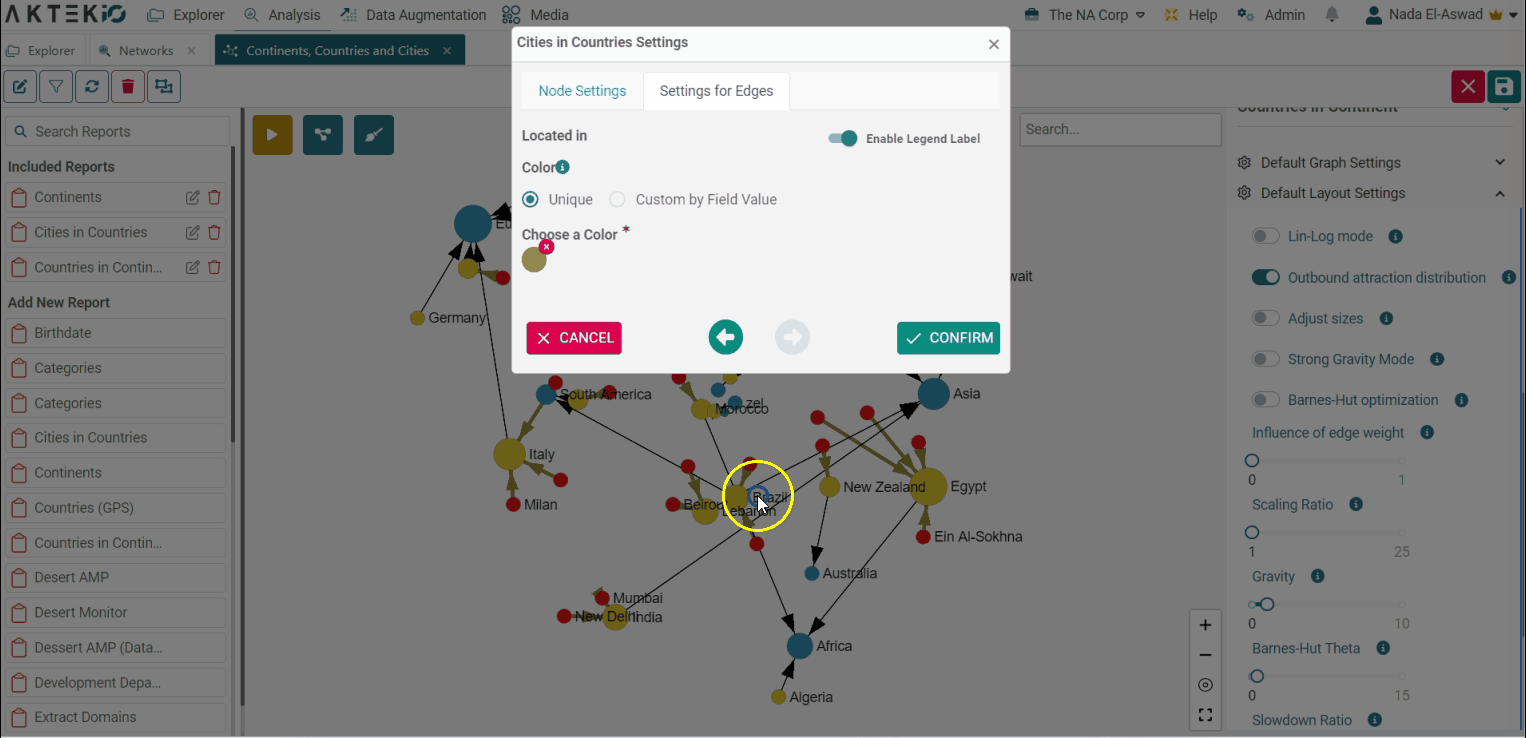
Edge (Links) Settings
Once your Node Settings are configured, go back to Edit by clicking the pencil icon or just click on the tab called Edge Settings, in case you haven’t confirmed your initial node configuration.
- Once in Edge Settings section, you will be able to see each available network link from your report. Toggle any link ON to see options for colors for your different link labels. These will allow the network to draw arrows or lines between your connected nodes;
- Select a unique or custom color inside any link. Unique will allow you to choose one color for every label under a link/edge and custom will allow you to select a color by a label;
- Once you are happy with your configuration, click Confirm in order to see your initial network graph.
Add multiple reports to your Network
You can add any report to your network, however, only reports that are connected with each other through reference fields will be able to draw link arrows between them.
Repeat the steps above to set up Nodes and Edges for your report. Make sure to Toggle ON the edges/links created between your two reports to draw these relationships between different reports.
You can also add the same reports multiple times if you wish to have different filters and settings applied to the same report.
When you add the report for the second time, you will be asked to give this new layer a name. This name will also appear on the legend to differentiate between the layers of the same report and to interact with this layer separately.
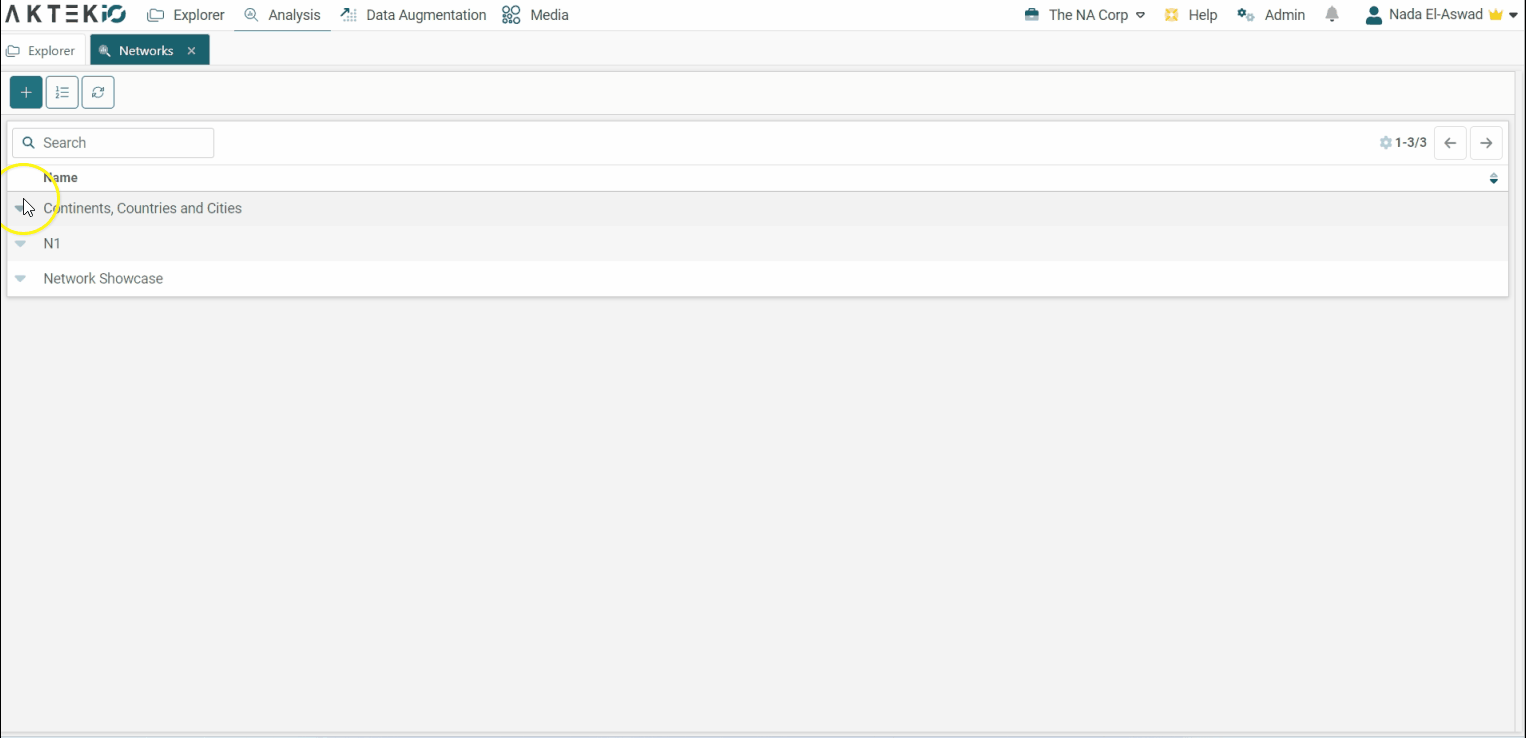
Children Networks
You can create multiple versions of the same network while keeping them grouped under one main network. This is useful when you need to use the same reports and data but change the layout or add/remove a few other reports.
You can create a Child Network from:
- The menu of the network (in the network listing);
- From the action buttons on top of the network.
The children networks will appear as tabs when you open the main network, and you can switch easily between them.