
Dashboards allow you to visually analyze your data, making it easy to monitor patterns and insights
Table of contents
- Create a Dashboard
- Dashboard Properties
- Time Filter
- Save Time Filter
- Multiple Date/Time Fields
- General Time Filter
- Other Actions
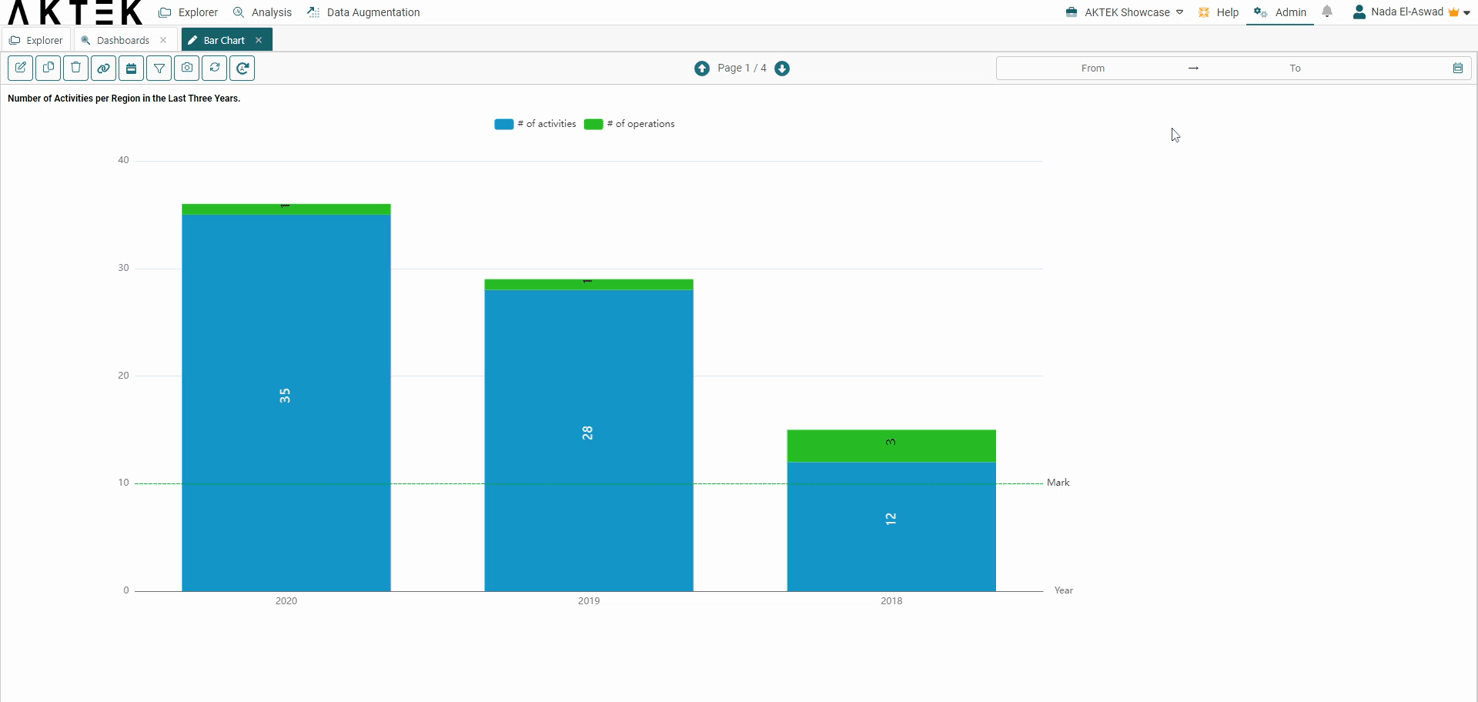
Create a Dashboard
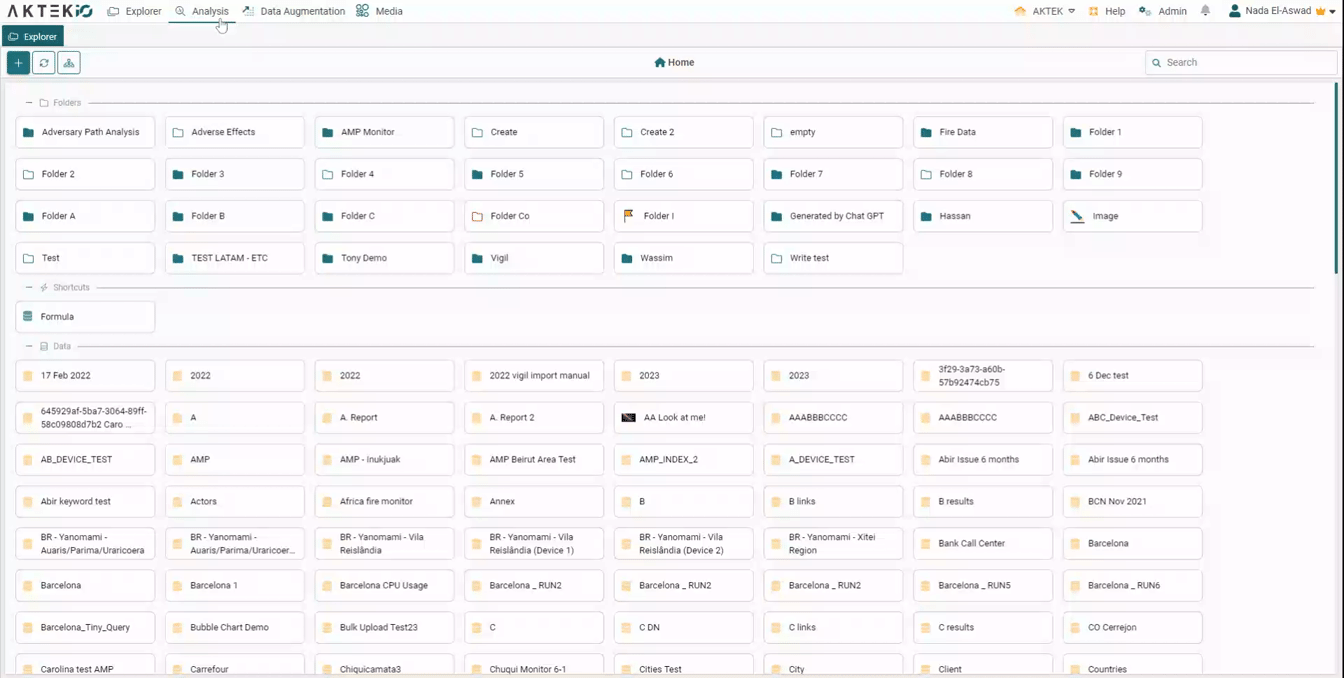
Go to Analysis > Dashboards
- You will find the list of all existing dashboards. Use the search box to find your desired dashboard and double-click on it to open it;
- To create a new dashboard, click on the + button in the top-left corner;
- Enter a name for your dashboard and click Create to save it. It will automatically open and show an empty dashboard;
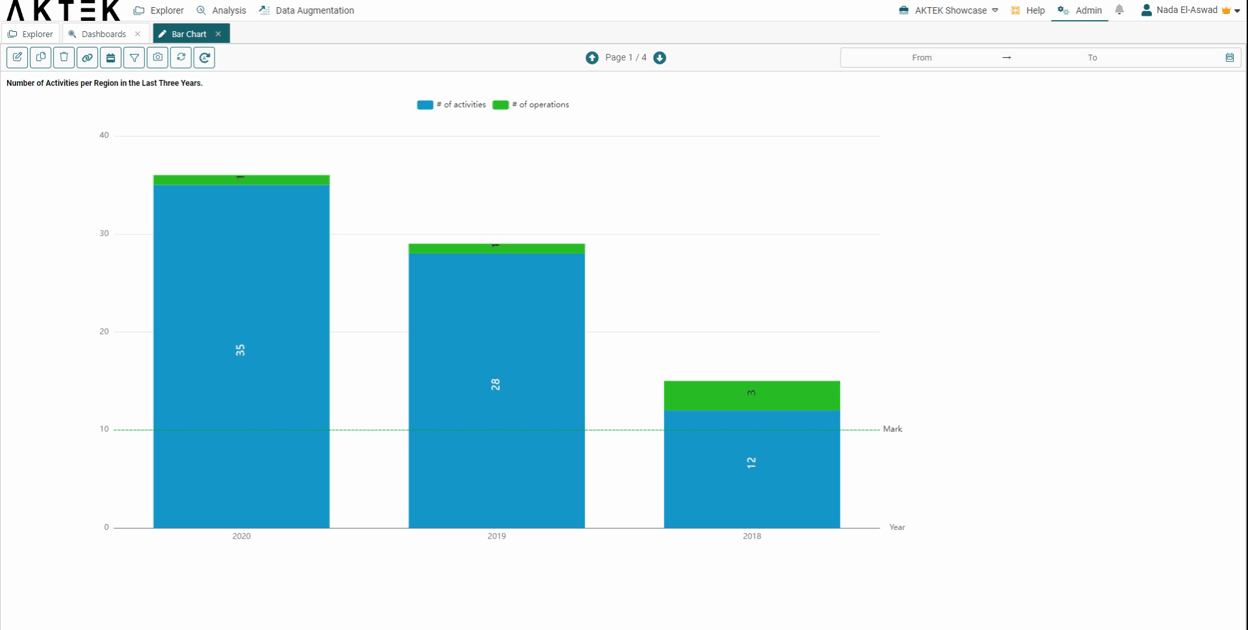
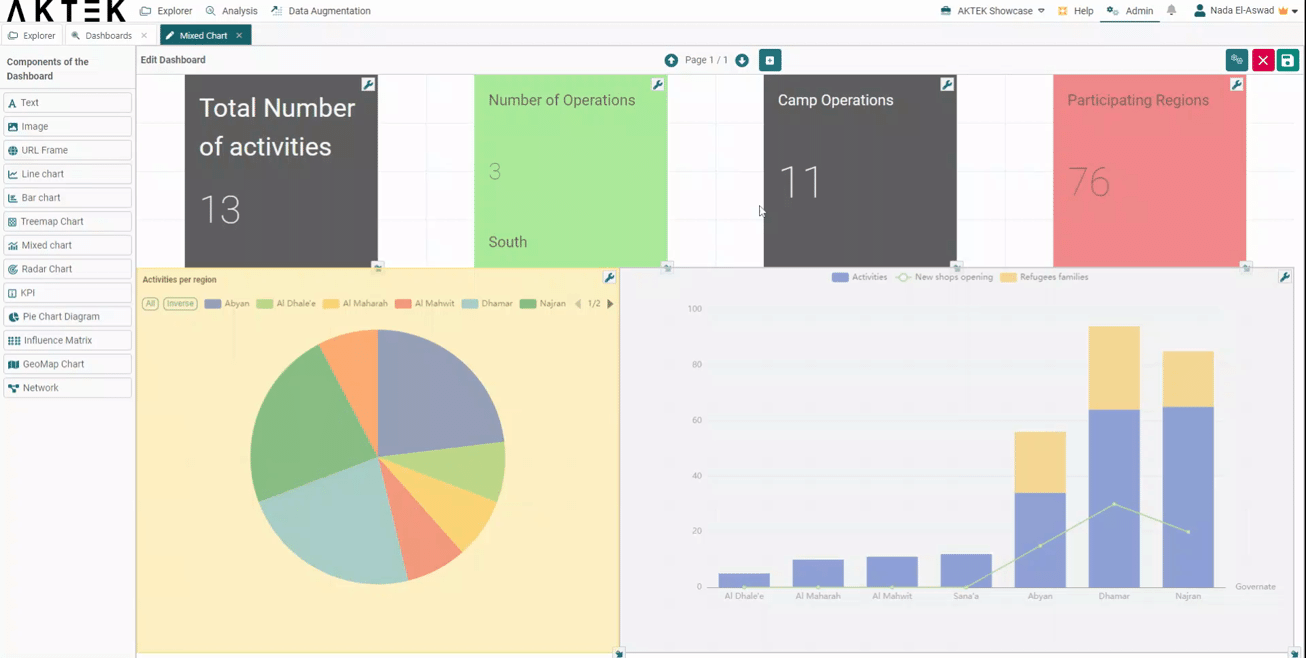
- To add a visualization, drag and drop a component option from the left-hand side of the screen onto the canvas to create the dashboard item;
- You can use the arrow in the bottom right corner to resize it on the canvas, making it bigger or smaller and giving it any shape desired on the canvas;
-
Click on the Settings icon to open the action menu, then select Edit to open the properties panel on the right.For more details about each component, please check the related pages here:
-
GeoMap Chart

- In edit mode, click on the + sign in the top middle to add a new page to the dashboard. The new page should have at least one component. Otherwise, it will be discarded.
To delete a page, click on the Delete icon shown at the top middle of the page; - To edit the Dashboard, click Edit again on the top right;
- To delete a dashboard, click on the red trash icon;
- To duplicate a dashboard, click on the blue paper copy icon. Write a new name and click save;
-
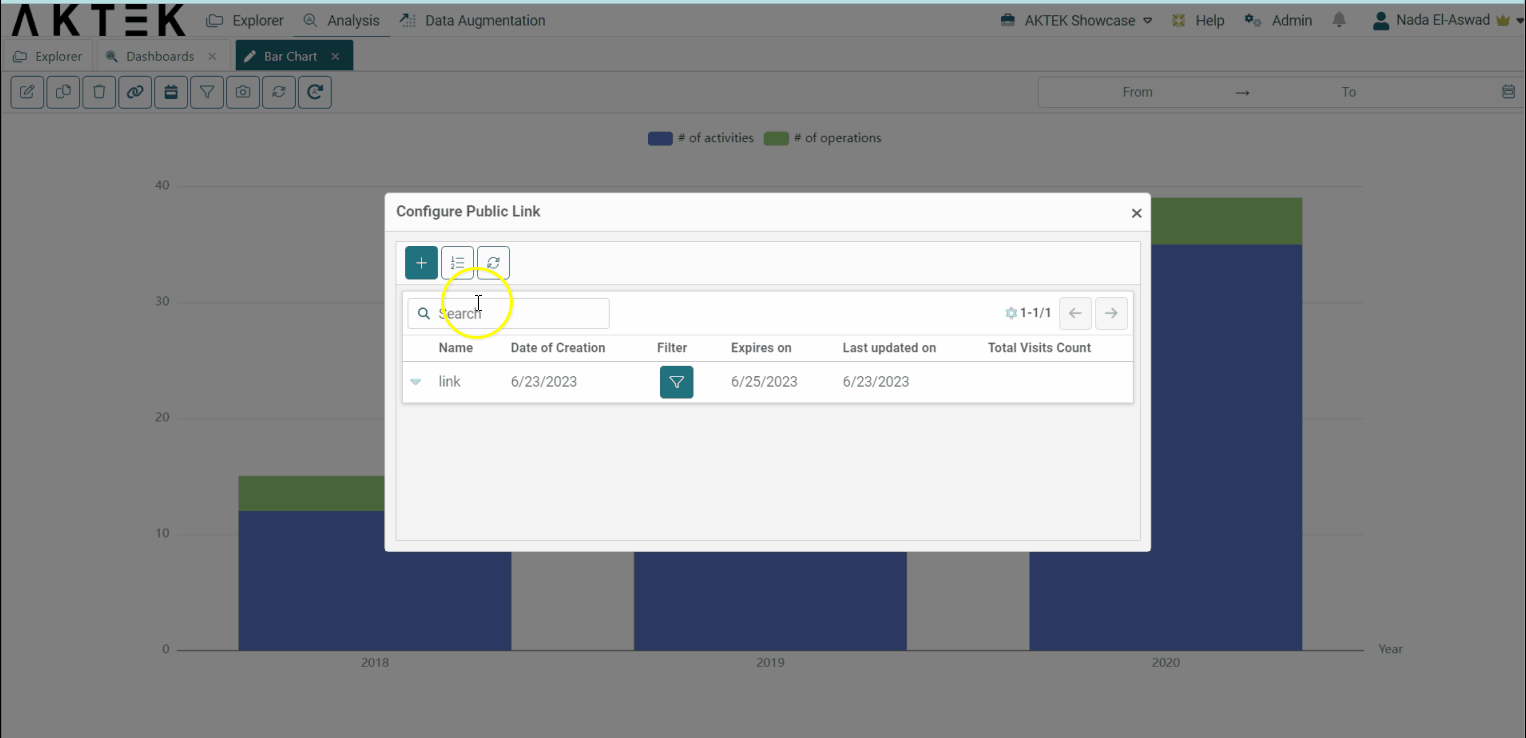
To share the dashboard, click on Generate Public Link. This will open a popup to configure the settings for this link.
-
Click on the + sign, give it a name, define the validity (in days), and add a password if you wish (the password is optional);
-
When you Confirm the configuration, the link will be added to the table. You can click on the filter icon to add a custom filter for this link in specific, so the audience will see only specific data on this dashboard;
-
Click on the arrow next to the name in the list of public links, and then click on Copy the link. If a password is set, you need to share it with them to access and see the dashboard. Note that it will only show for them in view mode and will always show the latest updates.
- Check more possibilities on the Public Link here.
-
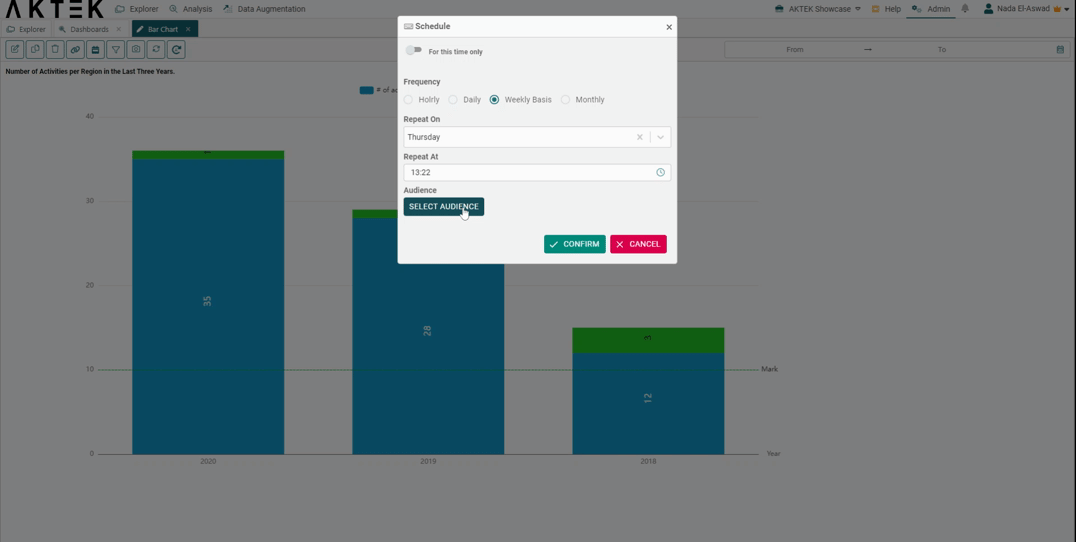
- To share the dashboard as PDF (one-time or recurring), click on the calendar icon to Schedule a Snapshot. Once the sharing is configured (check the steps below), the users will receive by email a snapshot of this dashboard attached as a PDF in addition to a direct link to the dashboard. This will open a popup where you can:
-
Share it for one time only by enabling the toggle One Time.
-
Keep the toggle off to schedule an automatic recurrent sharing.
In this case, you need to define the frequency of sharing (Hourly, Daily, Weekly, Monthly). Then select the desired Date/Time for sharing.

-
- For both options above, the next step would be to choose the audience:
- Users: The email will be sent to the selected iO users to their registered emails.
- Groups: The email will be sent to all iO users added to this group, to their registered emails.
- Emails: is used to add external email addresses of users who are not on iO. Press Enter to add an email. You can also copy and paste multiple emails.
-
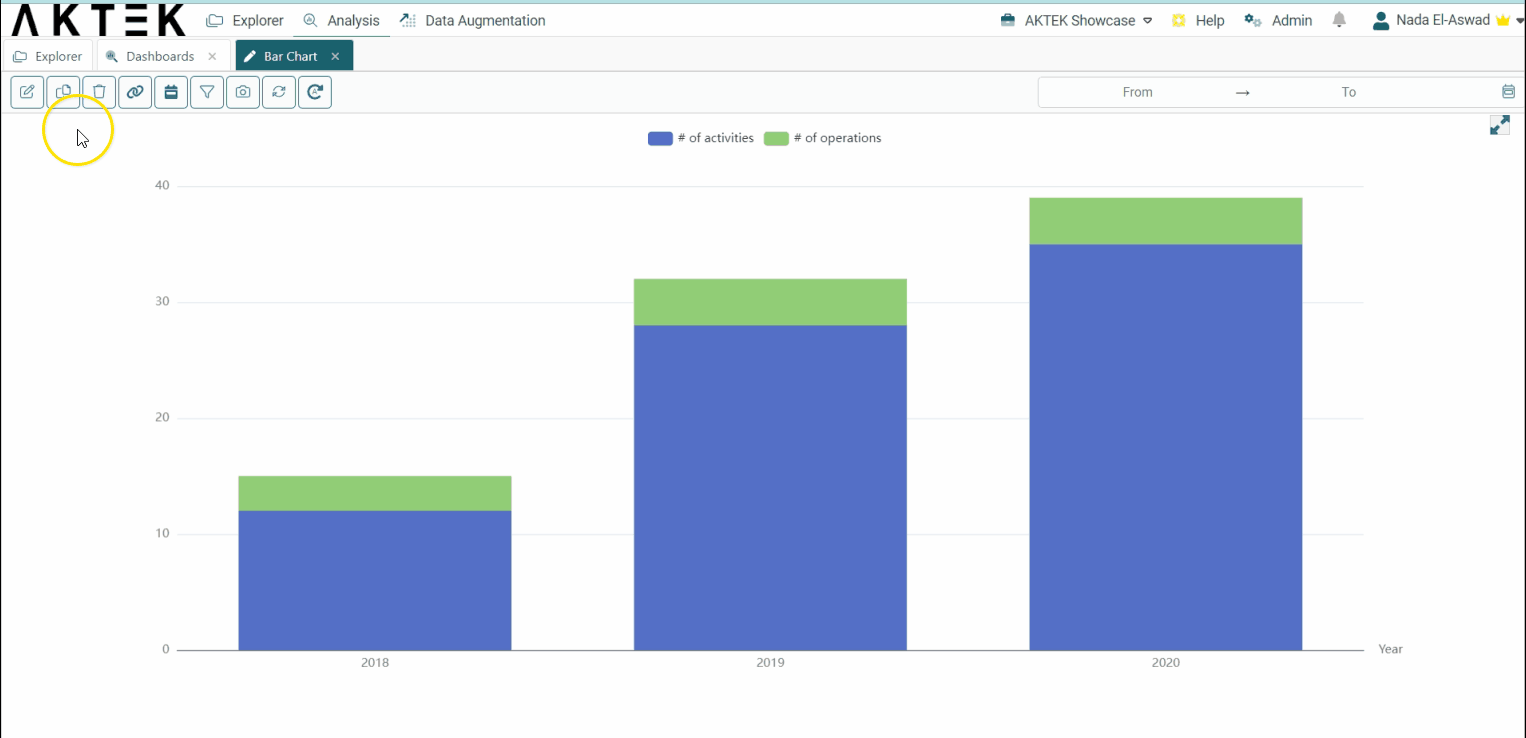
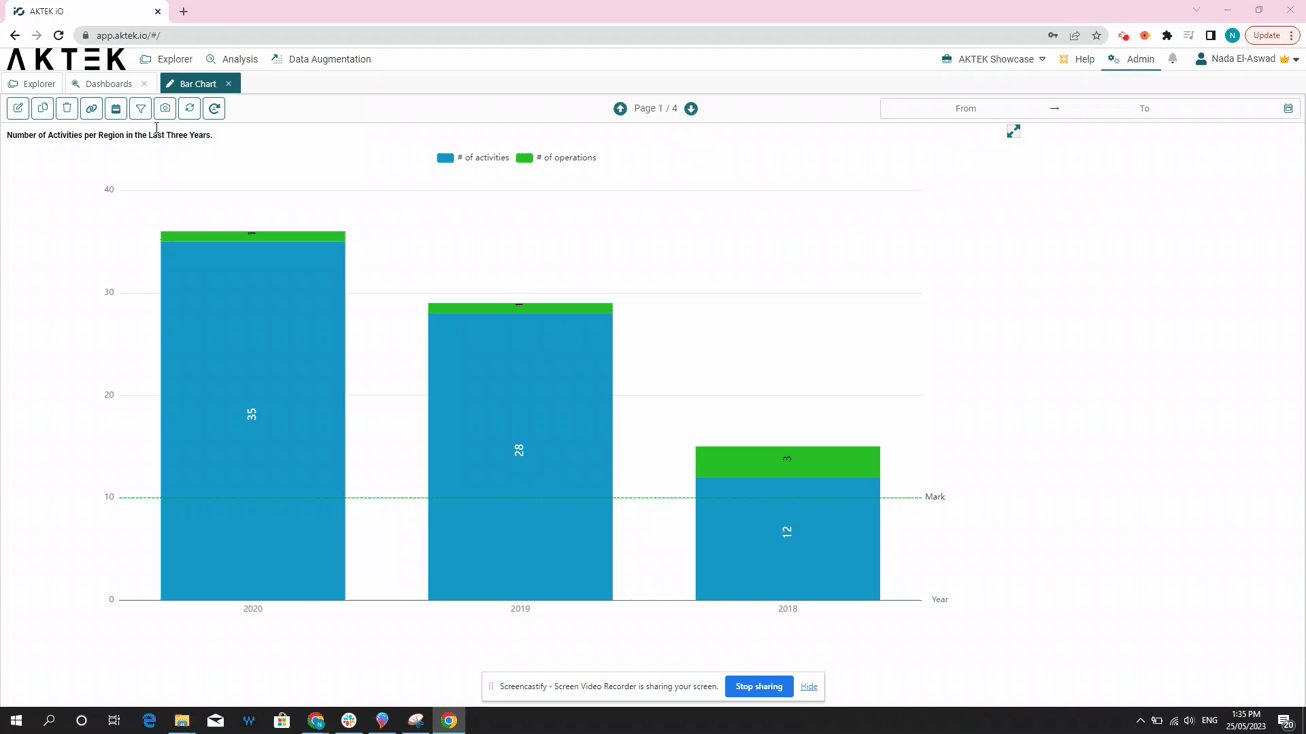
To Download the dashboard as an image, click on the Camera icon. If your dashboard has many pages, you need to do the same for each page.
-
If new data have been added to your report but is not reflecting yet on your dashboard, click the Refresh button showing as a circular double arrow.
-
You can enable auto-refresh on the dashboard to have real-time monitoring of the updated data. Click on the Last action icon, enable the Turn-on toggle, and set the interval in seconds. In this case, the dashboard will automatically refresh every X seconds.
💡 Other actions on Public link:
- You can create multiple links, define different settings and filters for each, and share the links with different audiences.
- You can Rename the generated link (the name will be visible only to you)
- You can Preview the dashboard filter. In case you have customized the filter, use this option to preview what your audience will see before sharing the link with them.
- You can Restore the dashboard filter. In case you have set a customized filter for this link, you can reset it by restoring the default filter of the dashboard (if set).
- You can Revoke and delete this link. The audience having the link won't be able to access it anymore.
✅ Step 11: The PDF will reflect the dashboard at the time of sharing. If you update your dashboard or save a filter (under the dashboard properties), the PDF copy will also show the filtered data and the updated dashboard.
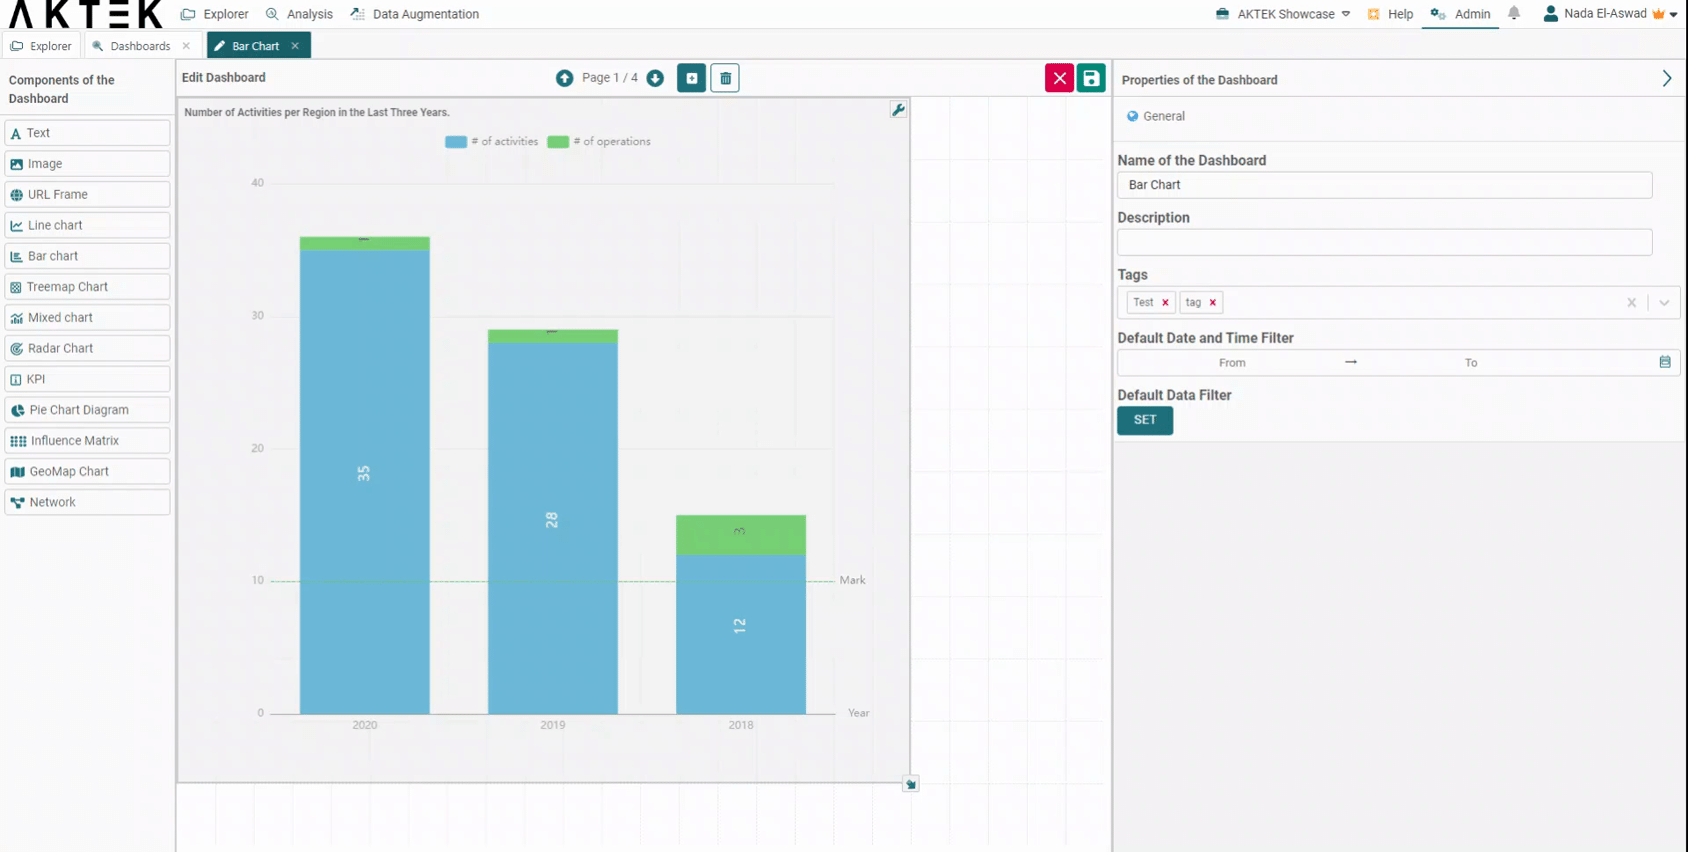
Dashboard Properties
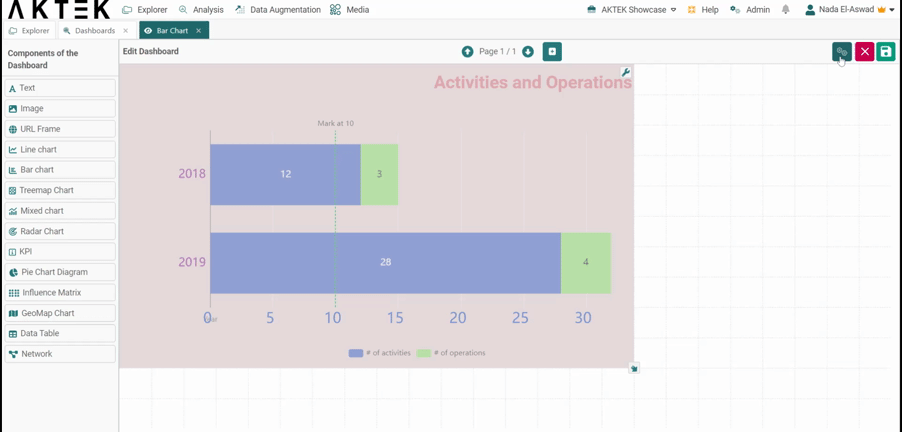
While in Edit mode, click on the dashboard properties icon, in the top right corner of the dashboard.
- Dashboard name
- Description
- Tags: Pre-created tags will show in a dropdown and also be displayed as you start typing. You can always create a new tag by typing the new keyword and clicking on Create.
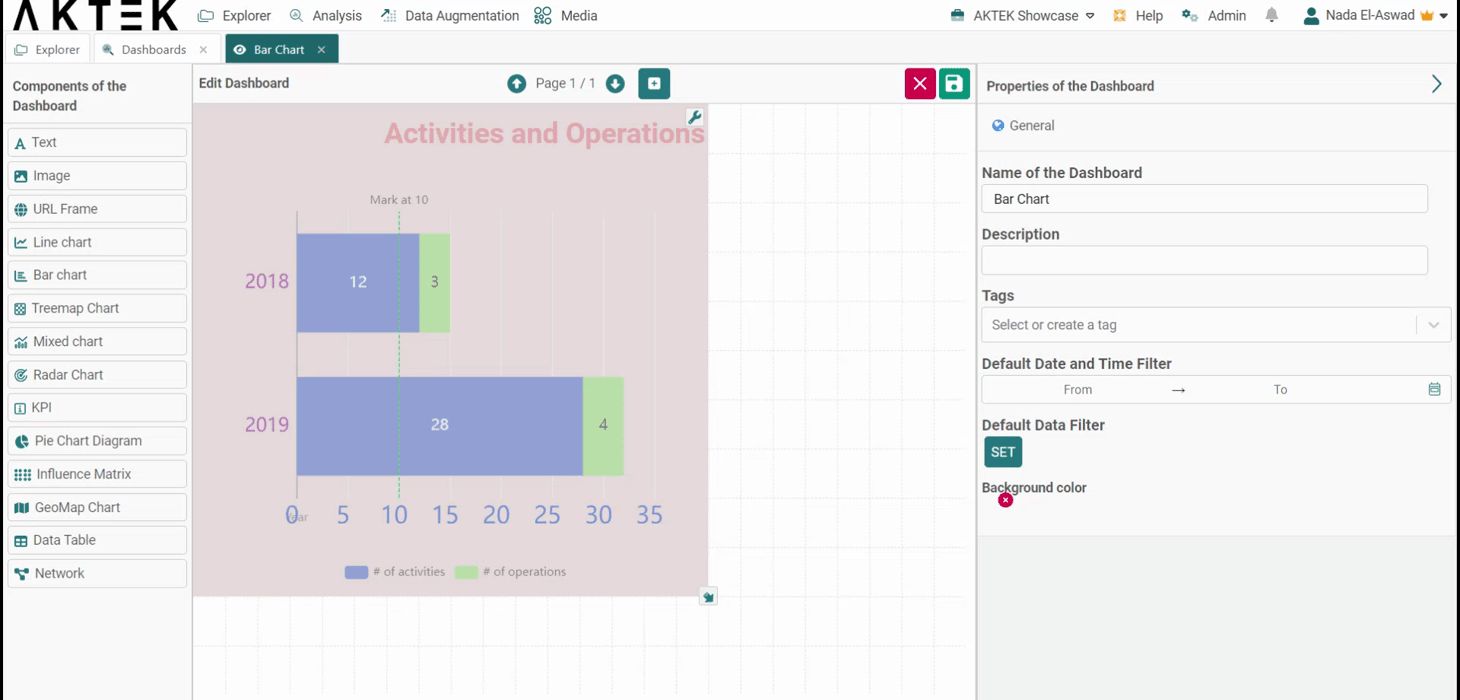
- Background color: Under the properties, you can edit the background color of the dashboard. The selected color will be applied to all the pages in this dashboard.
You can also set the default background color that will apply to any new dashboard you create. For this, go to Company settings > Branding theme > Dashboards Background Color.
✅ The tags can be used to categorize your dashboard. In the list view of all dashboards, search by using a tag name, and all dashboards having this tag will be displayed.
✅ To delete a tag, please refer to the Company Settings page.
✅ Only the users with the right permissions can create a new tag (from the tag field directly) or delete an existing tag (from the Company settings page).
Time Filter
On the top right of the dashboard, you will find a date and time picker.
This will allow you to filter the data displayed and analyzed on the dashboard to the selected date and time. To do so, you have the following options:
- If you wish to analyze the data between two specific dates; choose Absolute, then select these dates (and time).
- If you wish to analyze the data of the past month, for example; choose Relative, and select:
- From: 1 (Number) months in the past (Type)
- To: Now
⚠️ Note that Now will be updated every time you open the dashboard to filter the data till the current date/time.
Save a Time Filter
Let's say you want to always display the analysis for the last 3 months every time you open this dashboard. Instead of applying the time filter every time, simply follow these steps:
- Open the dashboard.
- Click on Edit and open the dashboard properties.
- Under the Default Date/Time filter, select the desired range. In this example, you need to select:
- From: 3 months in the past
- To: Now
Multiple Date/Time Fields
The Date/time filter explained above will apply automatically based on the date/time field available in each report.
However, if the report contains more than one date/time field:
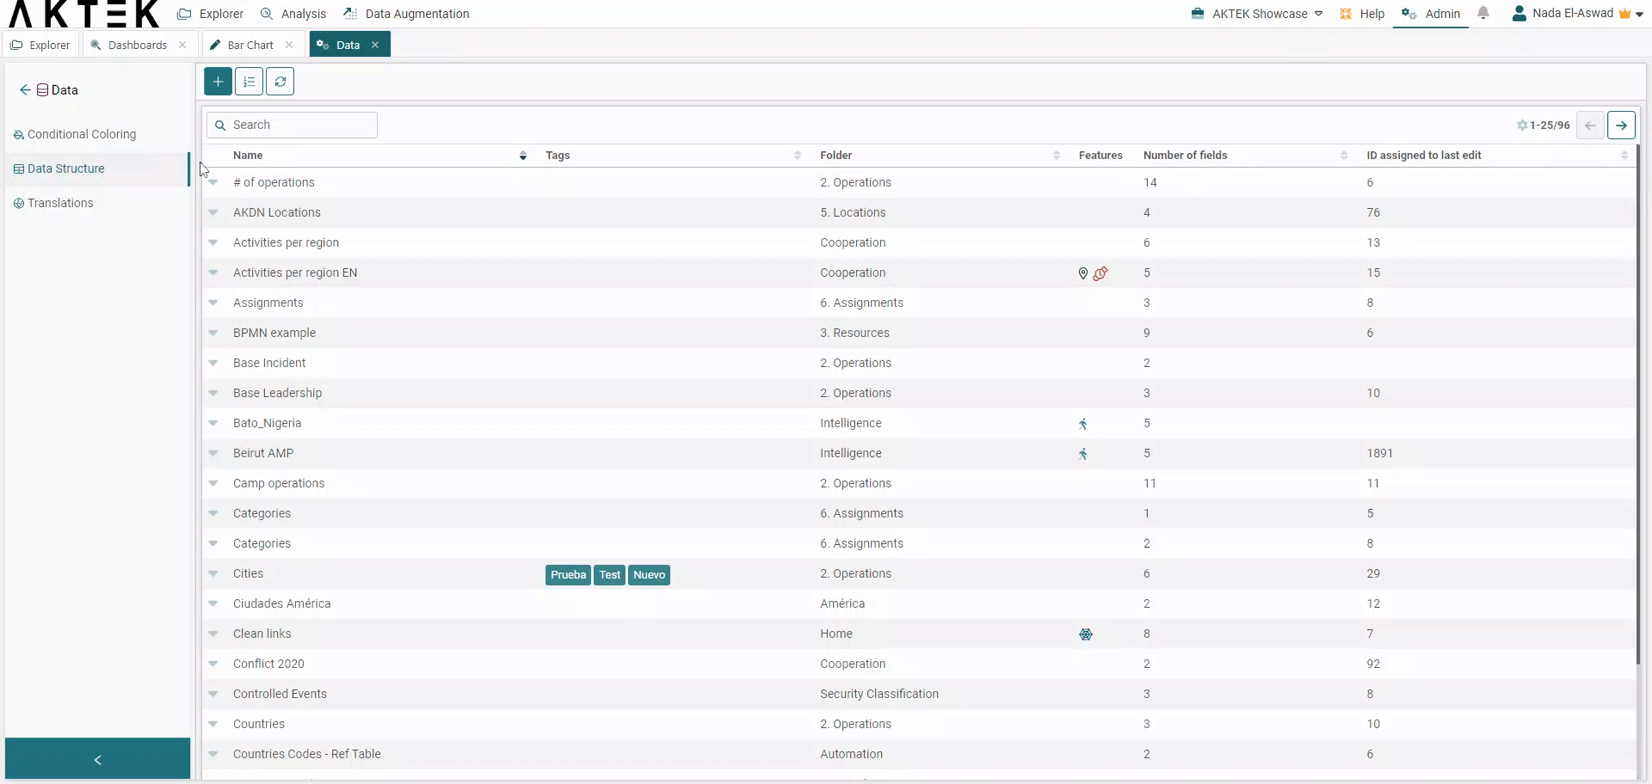
Setting a specific Date/Time field
-
Go to the related data structure and open the Properties.
-
Open Features and add select Time series.
-
Define the Date/Time field that should impact your dashboard. This will be the Date/Time field considered showing the timeline on the map (if enabled on your dashboard) and also to be used in the Date/Time filter.
iQ Areas related data structures
- Go to the related data structure and open the Properties.
- iQ Areas feature is usually automatically selected.
- Date/Time field under iQ Areas is also selected by default, or you can change it if you have other Date/Time fields added to your structure.
This will be the Date/Time field considered showing the timeline on the map (if enabled on your dashboard) and also to be used in the Date/Time filter.
No default Date/Time field
The data structure has many Date/time fields, but none of them is set to be the default one to be used on the dashboard.
In this case, the system will use the first Date/Time field found in the data structure and will apply the Date/Time filter based on this first field.
General Filter
- On the top left, find the filter icon.
- When you click on this icon, you will get the smart filter view with all the reports included in this dashboard.
- Start adding rules by report, then click on Apply.
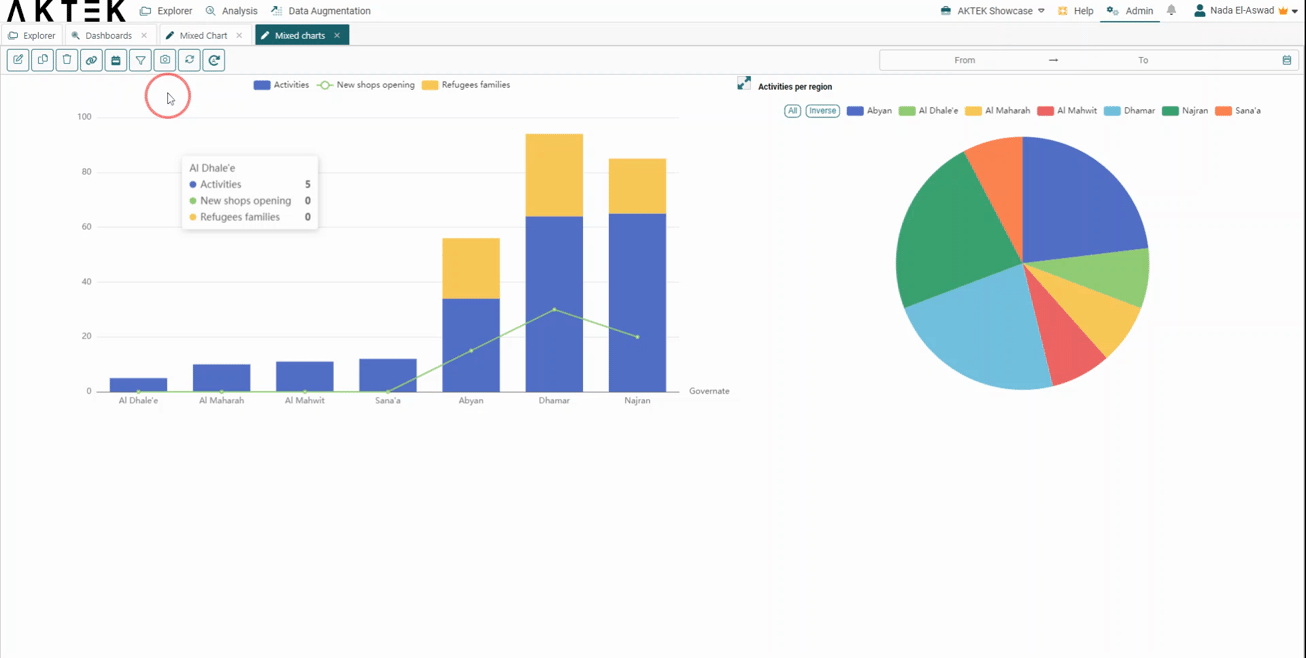
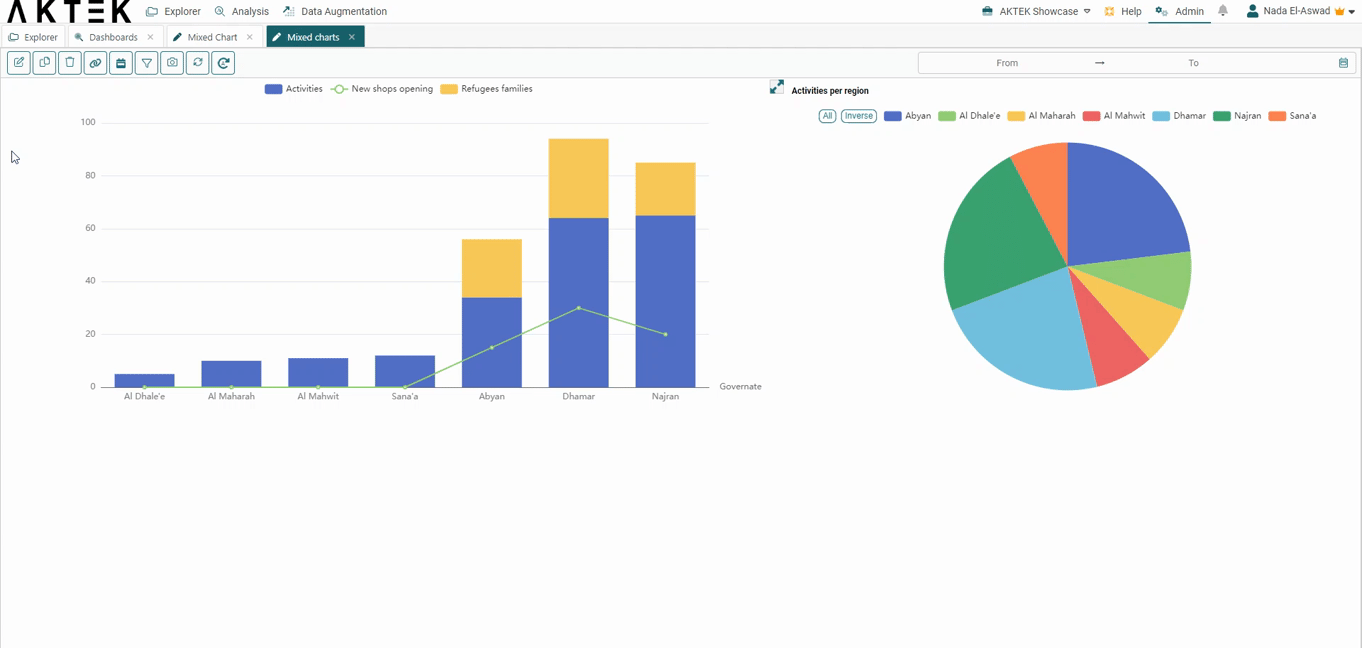
You will notice that the charts and maps are now displaying different data, based on the filters added.

Other Actions
- You can exclude one or more charts/maps from being filtered out. All you need to do is add them to the Chart exclusion list available on top of the smart filter page.
- Edit the Dashboard
- Select the chart(s) you wish to exclude from being filtered out.
- Add the rules for those charts you want to filter.
- Apply to see changes on those charts you didn't exclude.
- You can also save a Default Data filter. This way, it will be automatically applied every time you open this dashboard.
- Edit the Dashboard.
- Under the Dashboard properties, click on Set.
- Add the rules to your filter.
- Apply to see your dashboard with the filter that was set as default every time you open it.
- You can move the Dashboard components between the pages.
- Click on the wrench icon of any component.
- Select Move to.
- Select the page number or New page. This option automatically creates an additional page and moves the component to this last page.
💡 You can also edit the default filter to add or change the rules.
💡 Click on Clean to go back to the default settings.